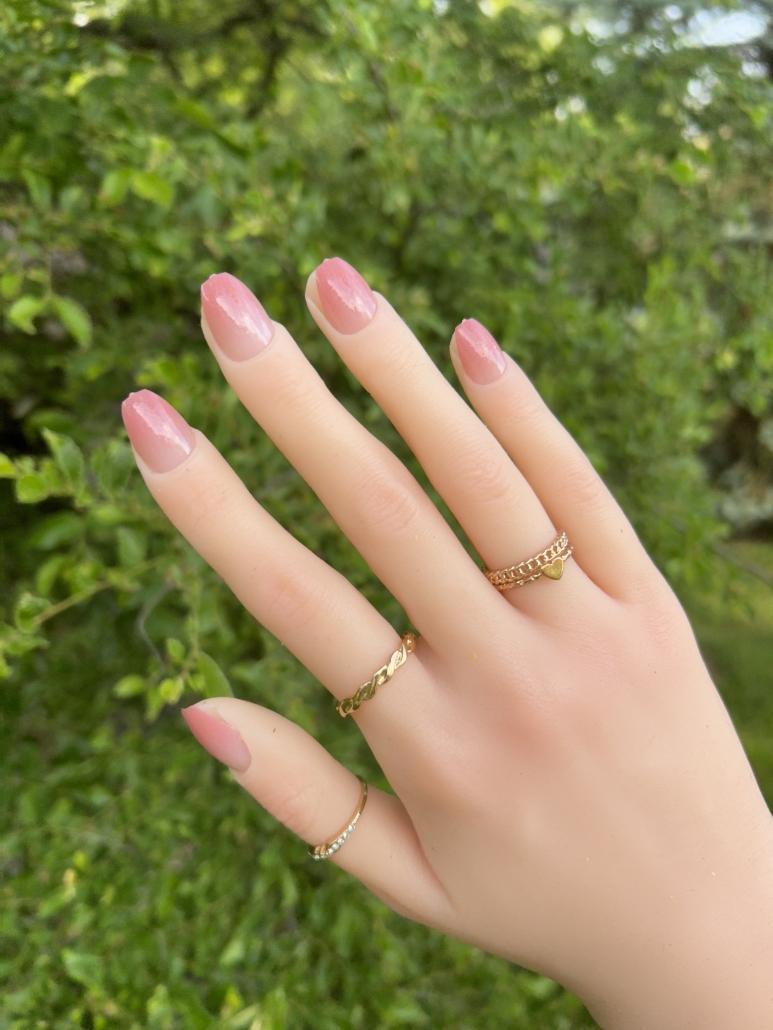
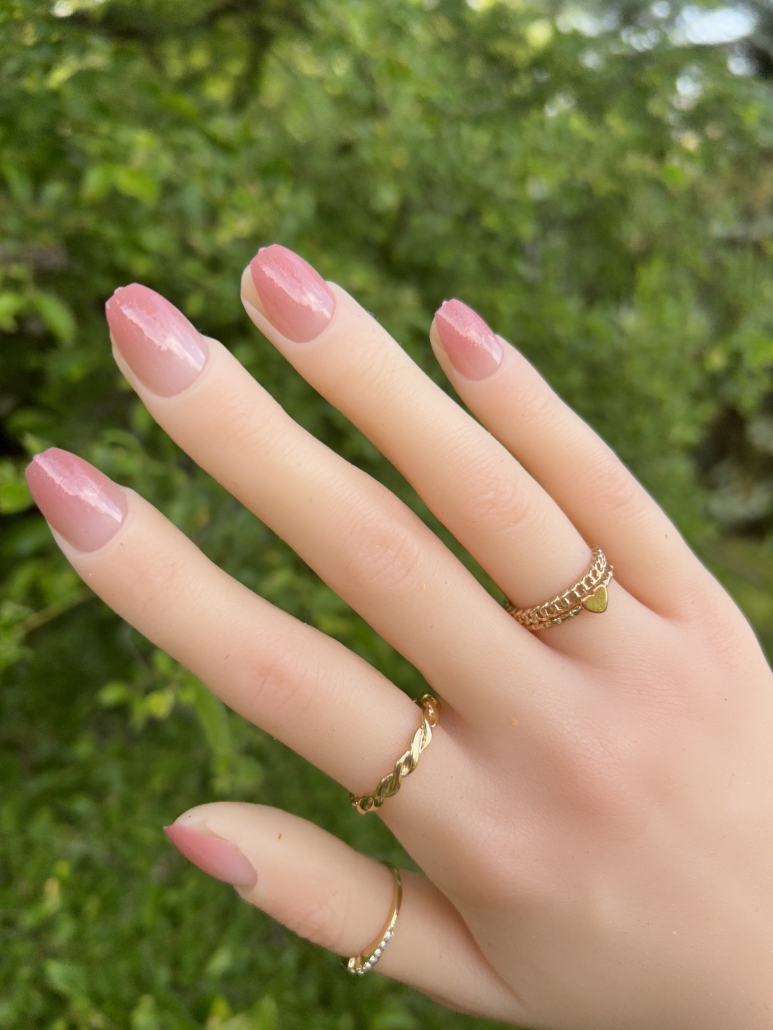
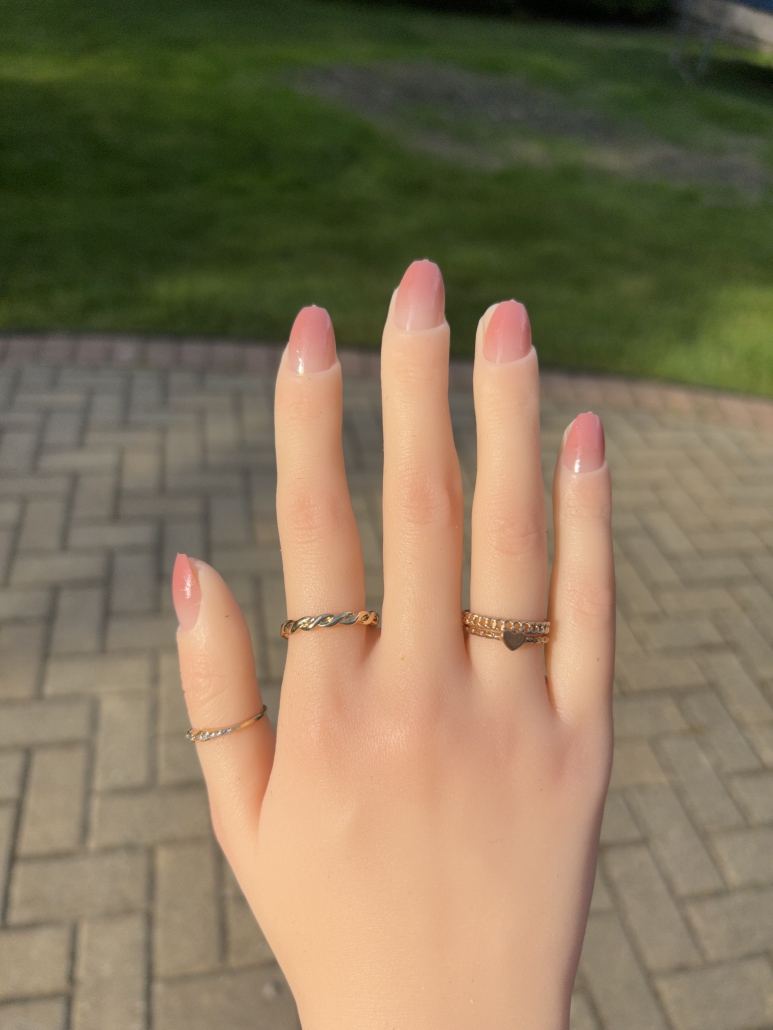
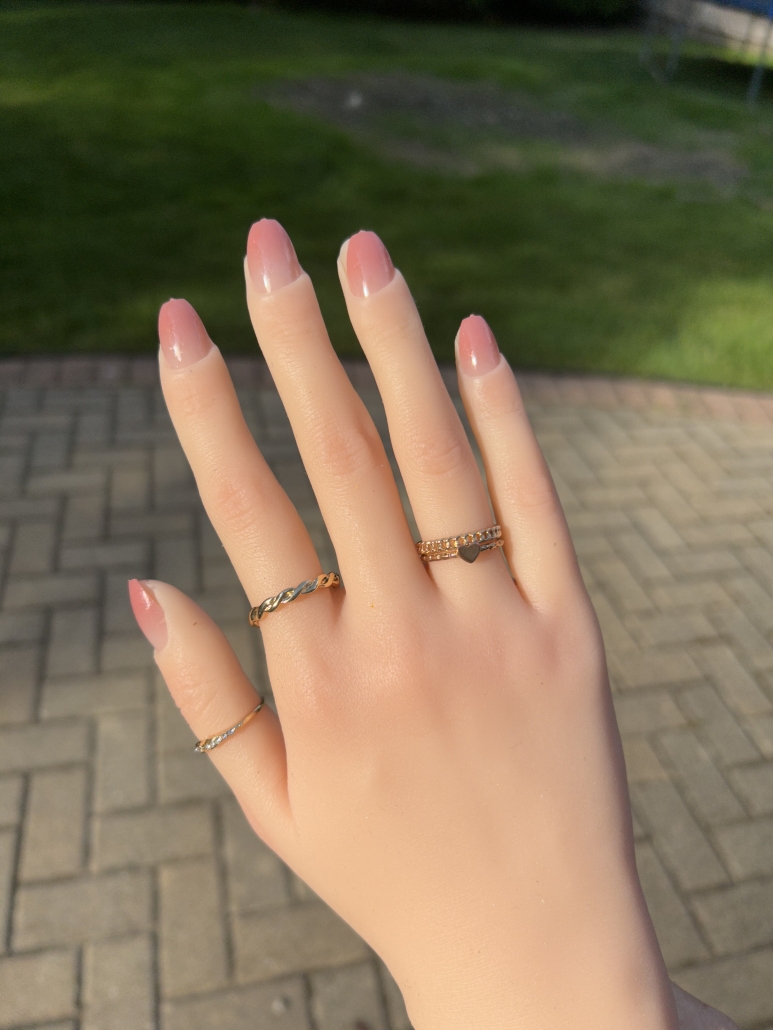
Pink Ombre Nails

Are you ready to add a touch of colorful pizzazz to your fingertips? Look no further than the hottest nail trend of the moment—pink ombre nails! These playful and trendy beauties have taken the fashion world by storm, and it’s time to dive into the delightful world of gradient goodness. So grab your nail polish, and learn how to recreate this gorgeous nail look!
The Trendiest Look
Pink ombre nails have been spotted on the runways, red carpets, and the hands of fashion-forward individuals everywhere. It’s no wonder that these eye-catching nails have become the go-to choice for those seeking a fun and playful twist on their manicures. From soft and subtle shades to vibrant and bold hues, the possibilities are endless with this versatile nail trend.
What Are They Good For?
If you’re looking to express your individuality, pink ombre nails are the way to go! They allow you to showcase your creativity and personality, all while adding a touch of charm to your overall look. Whether you’re heading to a casual hangout with friends or preparing for a glamorous night out, these nails are a surefire way to make a statement and elevate your style game.
Pink is also such a fun and cheerful color! For some more pink nail ideas, check out Light Pink Nail Ideas, and Hot Pink Nails Ideas.
Recreate the look yourself!
Creating pink ombre nails is easier than you might think! Here’s a step-by-step guide to help you achieve the perfect gradient effect:
- Prep Your Nails: Start by giving your nails some TLC. Trim, shape, and buff them to your desired length and shape. Apply a base coat to protect your natural nails and ensure a long-lasting manicure.
- Gather Your Supplies: You’ll need at least three shades of pink nail polish. Choose colors that complement each other, ranging from light to dark. Don’t forget a makeup sponge, a small piece of foil or a plastic surface to dispense the polish, and some nail polish remover and Q-tips for cleanup.
- Paint Your Base: Apply a solid base coat of the lightest pink shade to all your nails and let it dry completely. This provides a solid foundation for the ombre effect.
- Sponge It On: Apply a stripe of each of your chosen pink shades onto the edge of the makeup sponge, slightly overlapping the colors. Gently press the sponge onto your nail, starting from the tip and moving towards the base. Dab the sponge lightly and repeat the process until you achieve the desired ombre effect. Remember, practice makes perfect!
- Blend It In: Use a clean portion of the sponge and lightly dab it over the nail to blend the colors seamlessly. This will give your ombre nails a smooth and polished appearance.
- Finishing Touches: Once the ombre effect is dry, apply a glossy top coat to seal in the colors and provide a beautiful shine. Clean up any excess polish around your cuticles using a small brush dipped in nail polish remover.
- Flaunt Your Gorgeous Nails: Voila! Your pink ombre nails are now ready to make heads turn and receive compliments left and right. Snap some Insta-worthy pictures and show off your nail art skills to the world!

Pink ombre nails are more than just a passing trend; they’re a fabulous way to express yourself and add a pop of color to your everyday life. Whether you’re a nail art enthusiast or a beginner, the beauty of this manicure lies in its versatility and simplicity. So why not try your hand at recreating the look and unleash your inner nail artist? Embrace the pink ombre craze and let your nails do the talking—after all, life is too short for boring nails!
If you are looking for some more pink nail looks, check out Pink Acrylic Nail Ideas, and Short Pink Nail Ideas for some more fun ideas.


Leave a Reply
Want to join the discussion?Feel free to contribute!