Orange French Tip Nails with Flowers Design
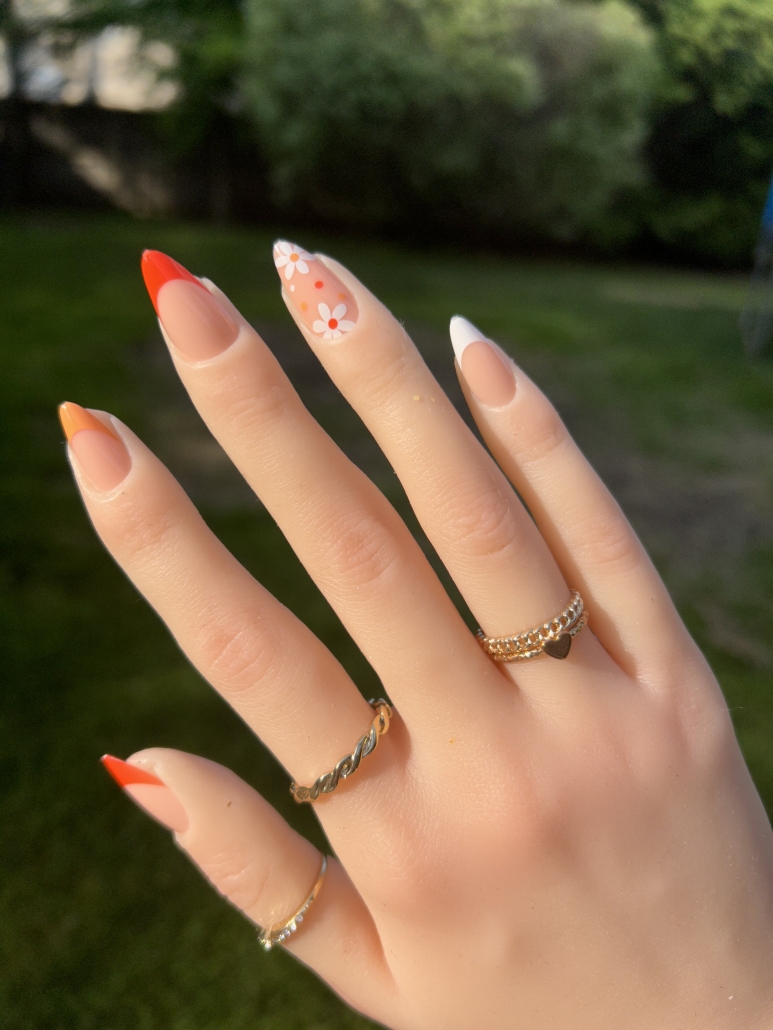
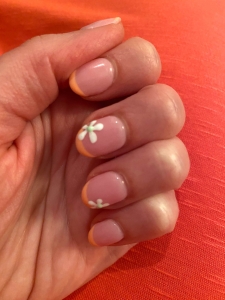
As we gear up for the sun-soaked days of spring and summer, it’s time to bring some sizzle to your fingertips with a fabulously fun and fresh nail design. Get ready to turn heads and express your vibrant personality with orange French tip nails adorned with a delightful flower design.
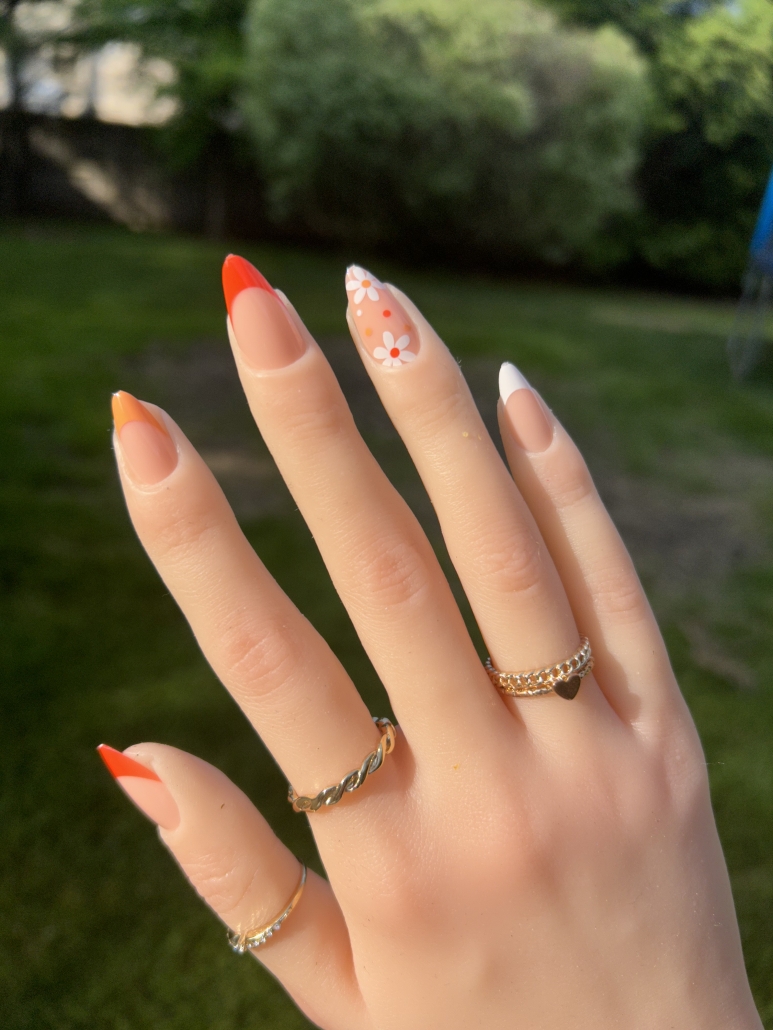
In this blog post, we’re going to dive into why these nails are an absolute must-have for the warmer months, why orange is the color of pure fun, and of course, and how you can easily recreate this look yourself. So, let’s jump in and let the sunshine guide our nail art journey!
Orange: The Epitome of Fun and Brightness
Okay, let’s be real, orange is the life of the party! It’s like a zesty burst of citrusy goodness that instantly puts a smile on your face. Picture yourself sipping a refreshing orange juice by the pool, or indulging in juicy orange slices on a lazy summer afternoon. Ah, the memories! Orange is the color that screams energy, enthusiasm, and pure joy. It’s the perfect shade to reflect the vibrant essence of spring and summer.
Recreating the Look: A Splash of Sunshine on Your Nails
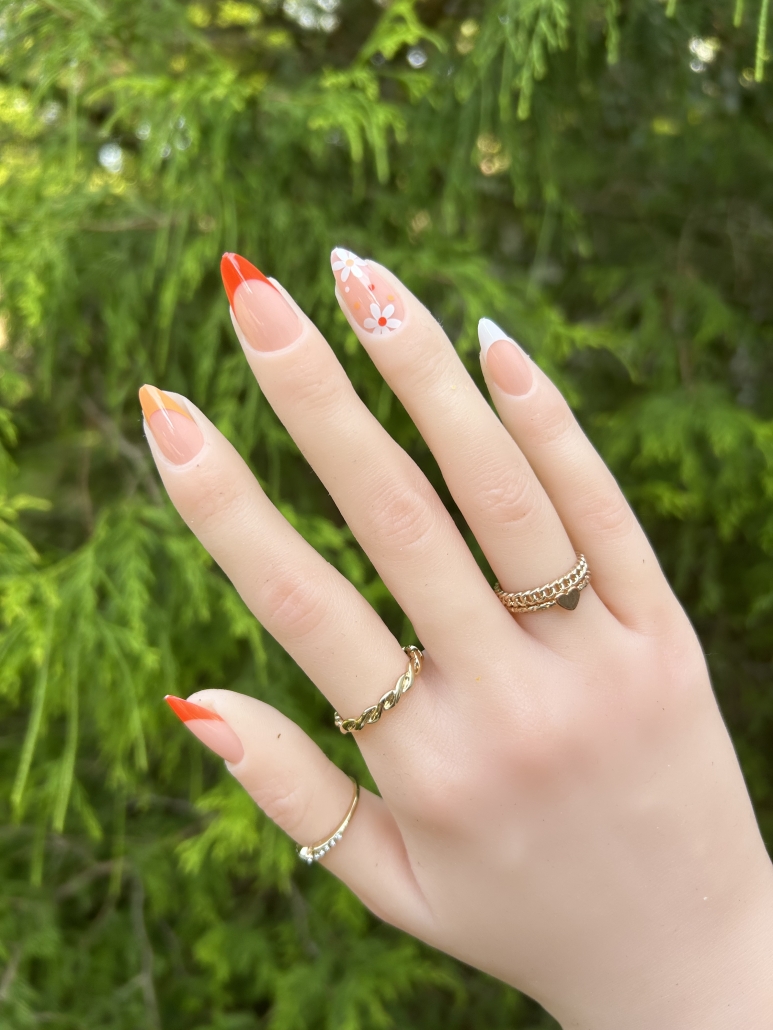
Now that we’ve established that orange is the ultimate hue for those bright and fun-loving souls, let’s dive into how you can recreate this sensational nail design yourself. Grab your favorite nail polish shades and let the creativity flow!
Step 1: Prep and Prime:
Start by prepping your nails. Give them a gentle file, shape them to your liking, and push back those cuticles. Apply a base coat to create a smooth canvas and protect your natural nails.
Step 2: Base Coat and Orange French Tips:
For the base, we’ll create a playful contrast using two shades of orange. Apply a light orange polish to your index finger and pinky, and a darker orange polish to your thumb and third finger. Pro tip: Use French tip guides or striping tape to achieve clean and crisp lines. Simply place the guide or tape at the tip of your nail, leaving the desired amount of space, and apply the contrasting shade.
Step 3: Floral Delight on Your Fourth Finger:
Now, let’s move on to the pièce de résistance – the enchanting flower design on your fourth finger. For more details on how to draw a flower on your nails, check out How to paint a flower onto nail. Begin by applying a white polish as the base color for the flower petals. Allow it to dry completely.
Step 4: Dotting Tool Magic:
Take a dotting tool or a toothpick, dip it into the darker orange polish, and create small dots in a circular formation to form the flower’s center. Be sure to leave enough space between the dots for the petals.
Step 5: Petal Power:
Using the dotting tool, gently drag the polish from the center dots outward to create petals. You can experiment with different petal shapes, such as rounded or elongated. Don’t worry about achieving perfection—nature is beautifully imperfect!
Step 6: Finishing Touches:
Allow the flower design to dry before sealing it all in with a shiny top coat. This will protect your masterpiece and give it a gorgeous glossy finish.
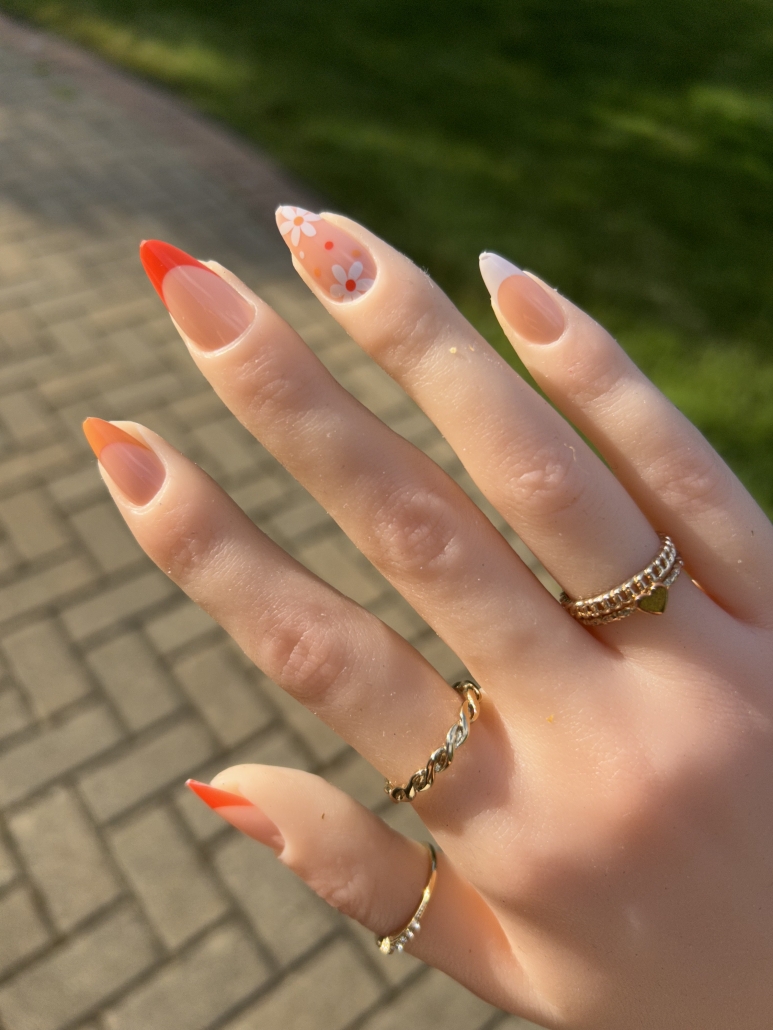
Voila! You’ve just transformed your nails into the epitome of sunny goodness with orange French tips and a captivating flower design. Now go ahead and flaunt your vibrant and playful style all season long!
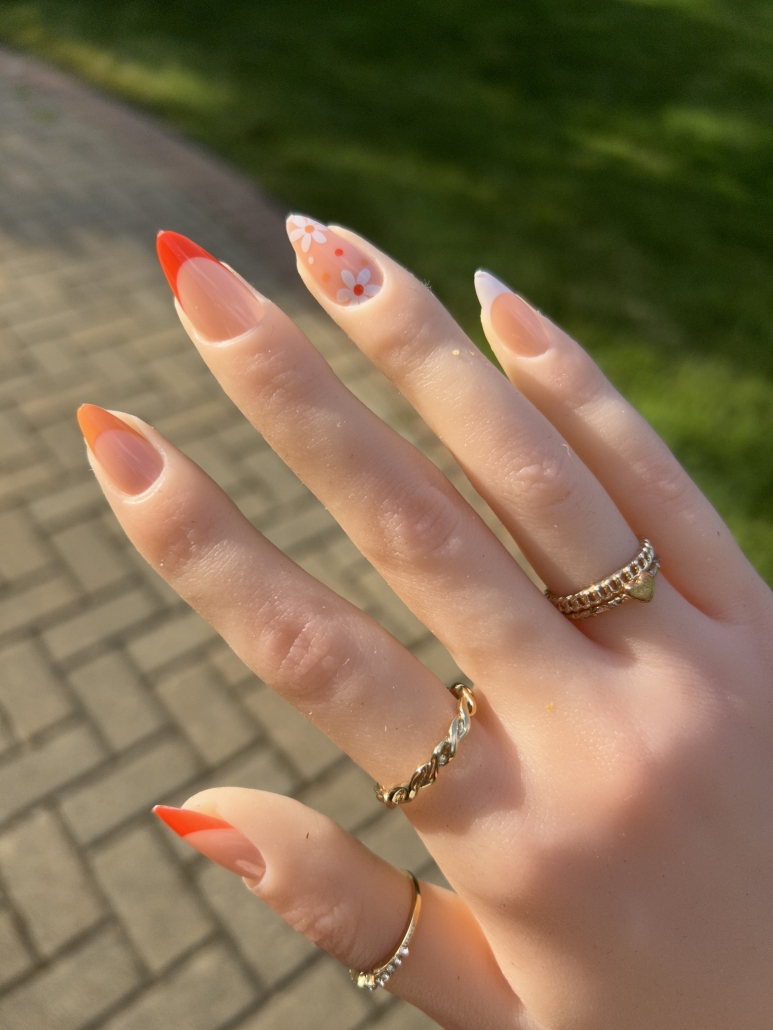
Orange French tip nails with a charming flower design are the epitome of spring and summer nail fashion. With their bright and fun allure, they embody the vibrant essence of these seasons. By following a few simple steps, you can effortlessly recreate this delightful look and add a splash of sunshine to your fingertips. So, gather your orange nail polishes and unleash your creative side. Get ready to turn heads and spread positive vibes with your oh-so-stunning orange French tip nails and flower power!
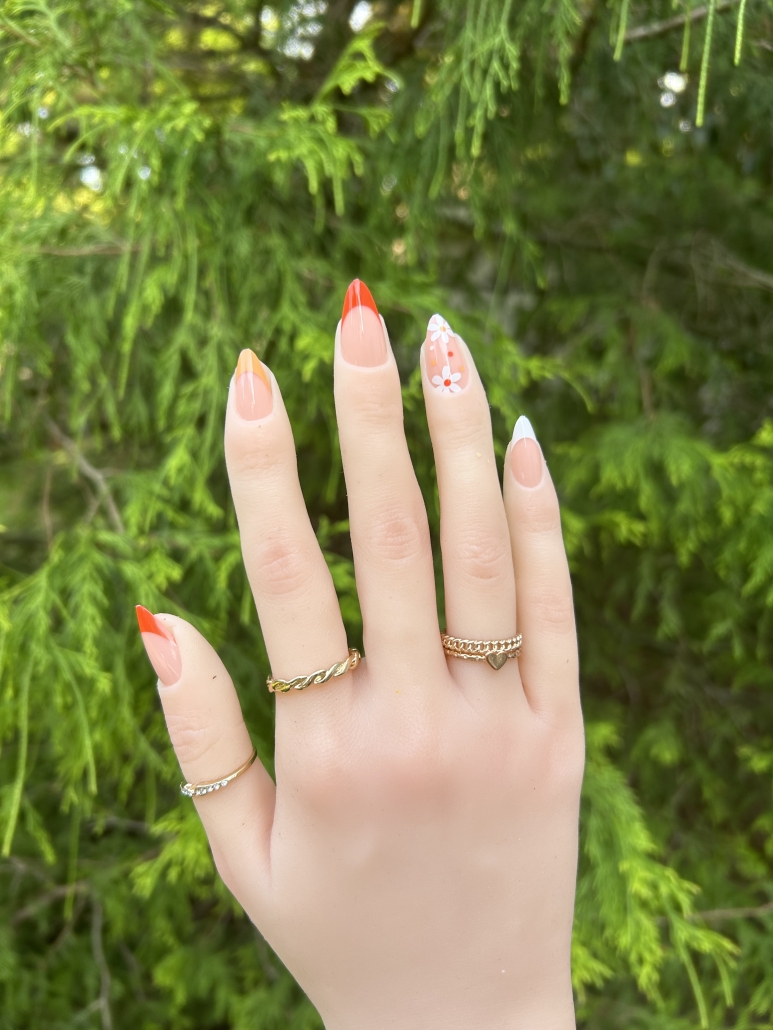
If you are looking for some more nail ideas like this, check out Flower Nails – Designs and Ideas, and French Tips Nails Ideas, Designs, Colors.




Leave a Reply
Want to join the discussion?Feel free to contribute!