Christmas Candy Cane Nails Design Red White And Glitter

This Christmas Candy Cane Nails Design will absolutely rock around the Christmas tree this holiday season! Let this Christmas manicure be an inspiration to your festive fashion choices!
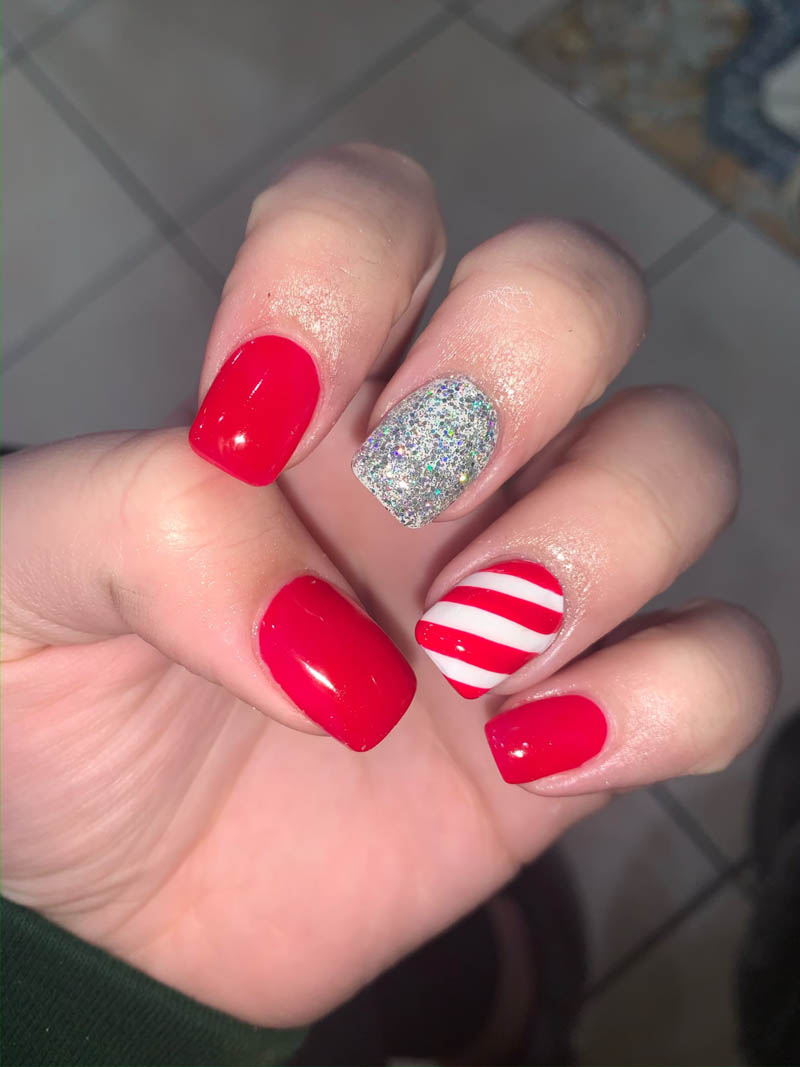
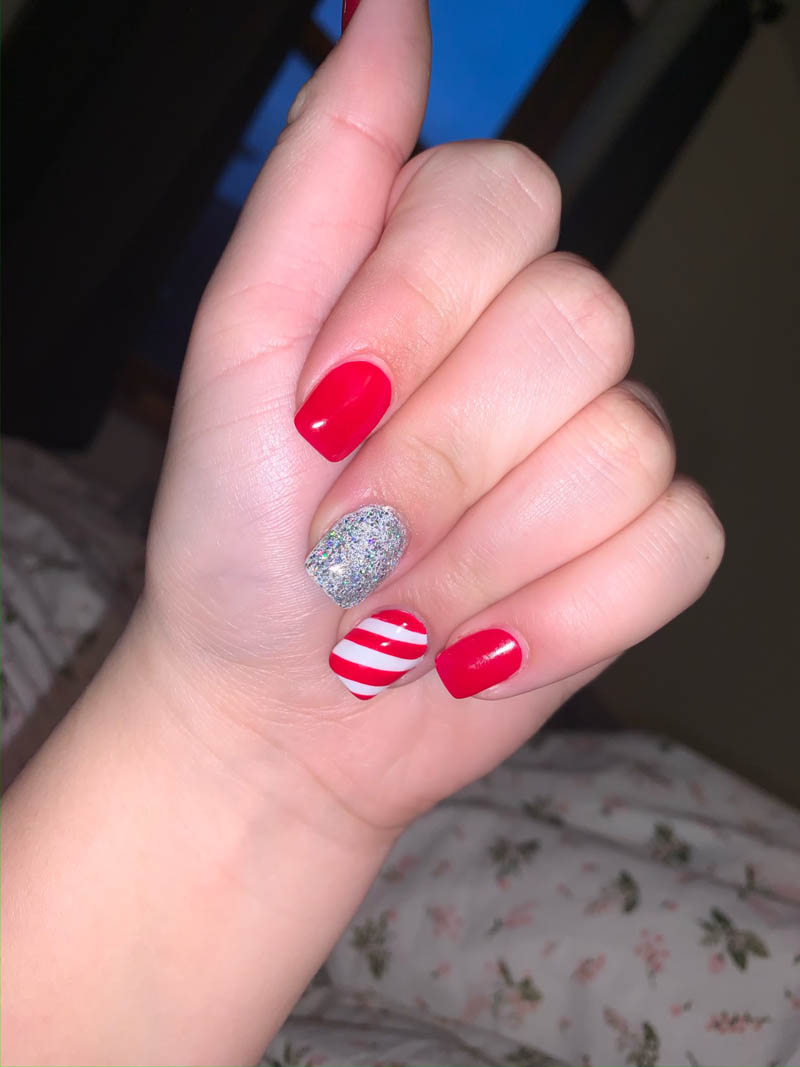
Christmas Candy Cane Nails
Just seeing this Christmas nail design gets me in the holiday spirit. I’m thinking classic Christmas playlists, mountains of Christmas cookies, and sparkling cinnamon scented decor on everything!
Christmas Candy Cane Nails Tutorial Steps:
Creating candy cane nails is easier than it looks. This design can flex your creativity while still being totally achievable for beginners. For this manicure, you will want three nail polish colors: a true red, a super sparkly silver, and a crisp pure white.
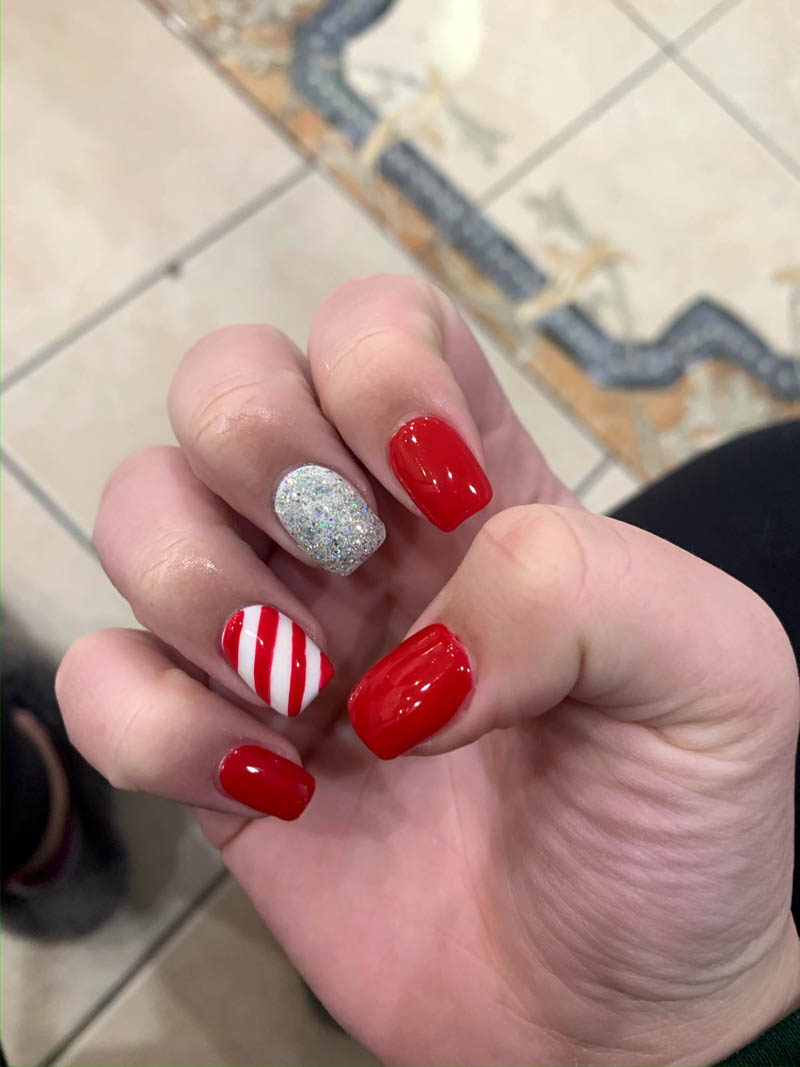
First, shape your nails: I chose a square nail shape.
Trim your nails to the desired length. For my candy cane nails, I chose a shorter square shape. This would also look amazing on a coffin-shaped nail.
To achieve the square nail shape, file your nails in one direction straight across the entire nail. Keep the nail file parallel to your nail bed and not angled. Lastly, file very lightly around the edges to soften any too-sharp corners.
Next, paint the Christmas nail design base:
Then start with one coat of pure white base coat on all nails. This creates a neutral base to make the red truly pop. Paint one or two additional thin coats of white paint on your ring fingers as the base for the candy cane stripes. You want a solid opaque white.
Allow the white polish to completely dry.
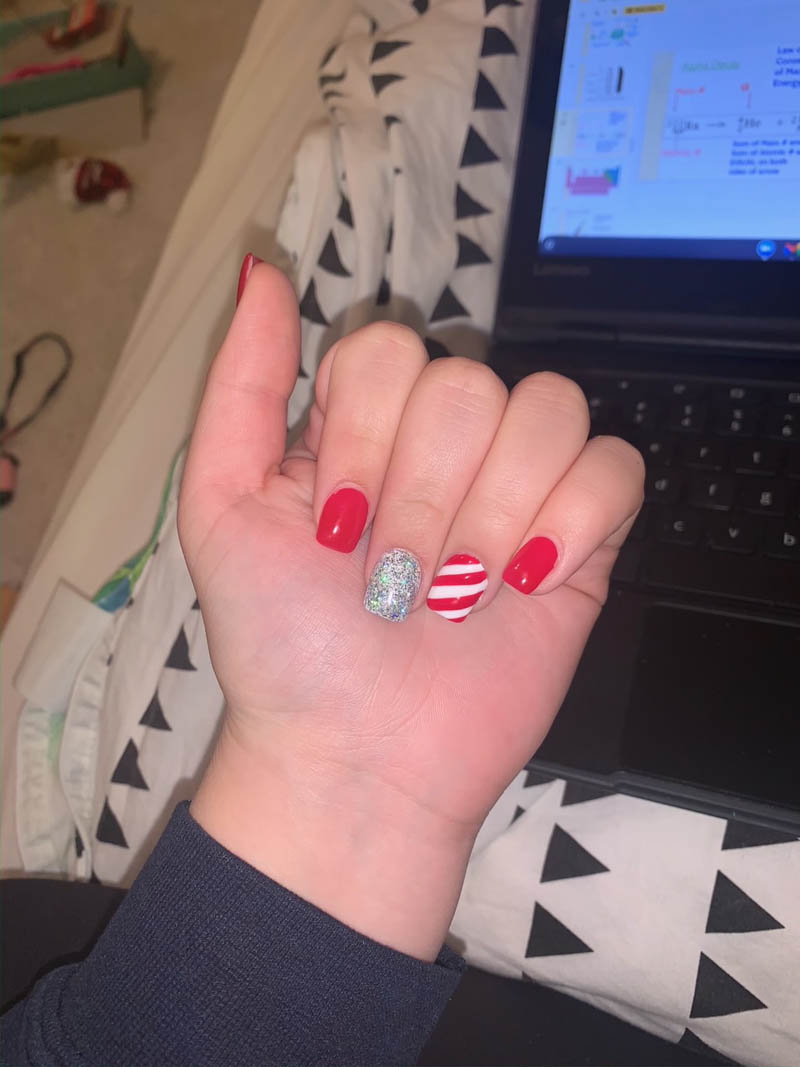
Then paint two coats of silver glitter polish on each index finger, always allowing each coat to dry before painting the next.
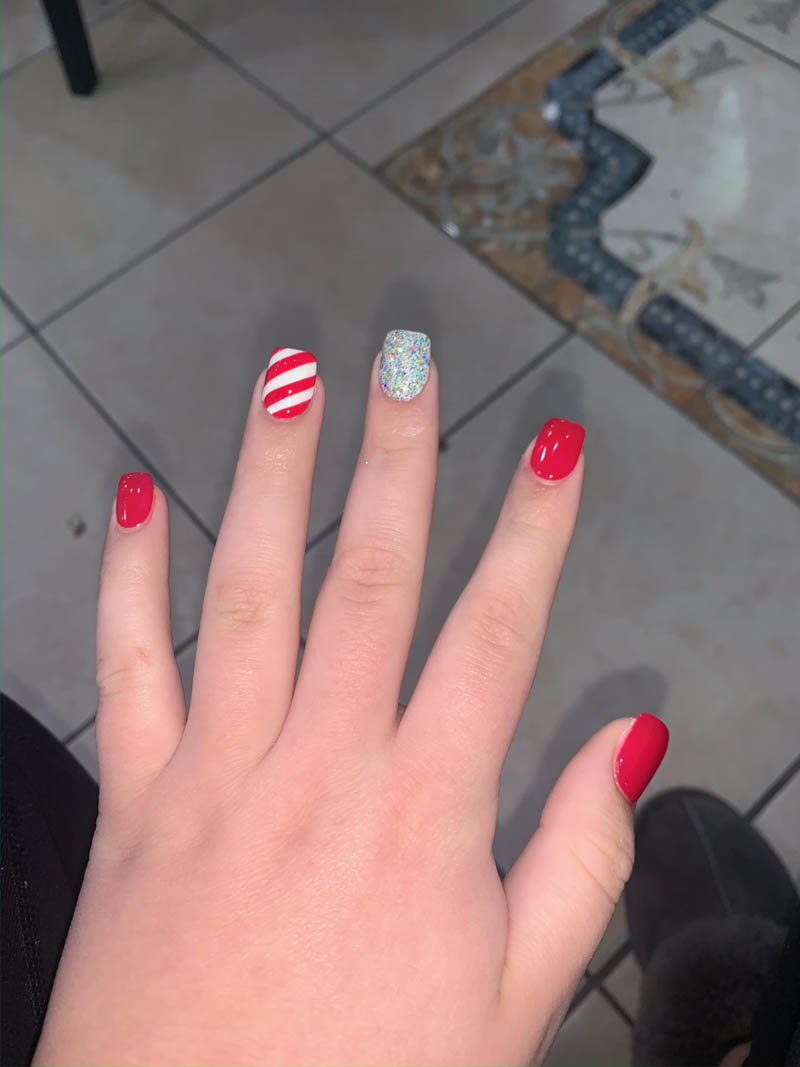
Then, apply two coats of red nail polish to your thumbs, pointer fingers, and pinkies.
Finally, the candy cane nail design!
Before painting the candy cane design, double-check that the base coat is 100% completely totally dry. I waited at least 20 minutes before moving to the next steps. Do one ring finger at a time.
You can freehand this design, but if you’re a little shaky or want super crisp lines, simply use Washi tape! It is the perfect tool for nail design because it will stick well and can remove easily without pulling up the polish below.
Cut strips of washi tape in the thickness you want your white stripes to be; I used three strips per nail.
Place the tape on the nail diagonally, positioning them to be equally spaced. Make sure the washi tape is securely placed to get crisp lines.
Paint over the whole nail with your red polish. Paint your nails normally, gliding over the tape.
Allow the polish to somewhat, but not fully dry. Gently peel the tape pieces off to reveal the white polish underneath, creating that candy cane design!
Allow everything to dry completely, then apply a clear topcoat. On the candy cane nails, apply the top coat along the candy cane lines to avoid smudging.
What to wear with Christmas Candy Cane Nails
Paired with a punchy red lip at the work holiday party, or a fluffy white sweater at your nana’s cookie day, this look is festive and fun.
For other winter nail ideas, try these Winter Snowflake Nail Design Blue French Tips or the simple and chic Winter White Nails.


Leave a Reply
Want to join the discussion?Feel free to contribute!