Oval Nail Ideas
Oval Nail Ideas
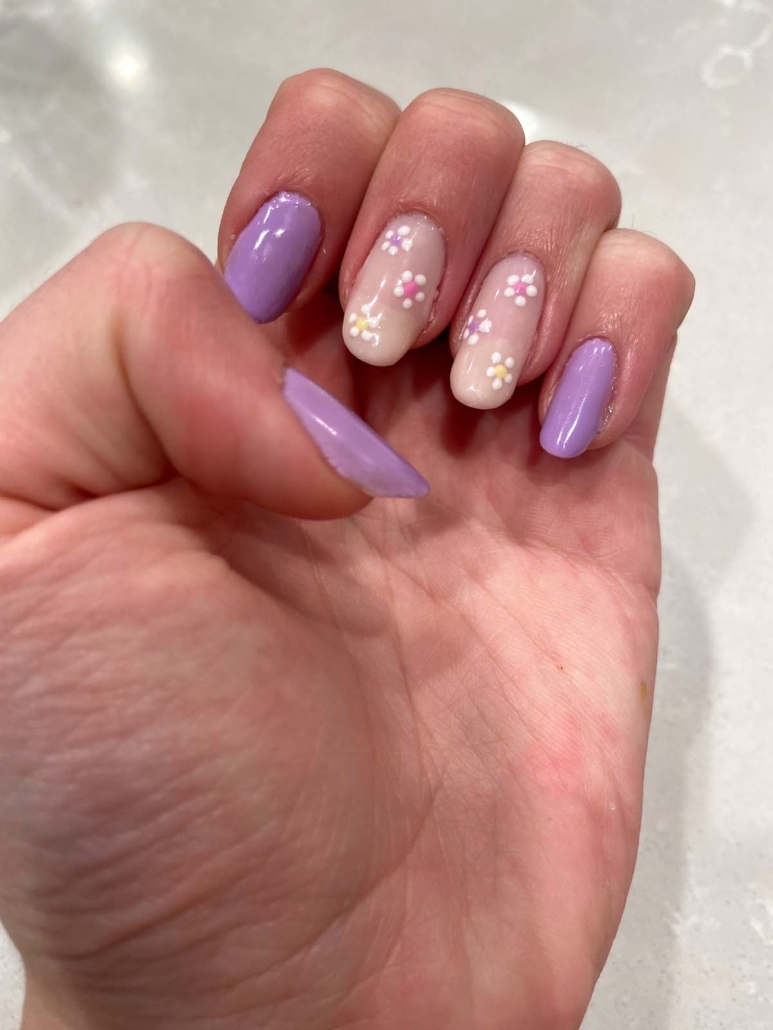
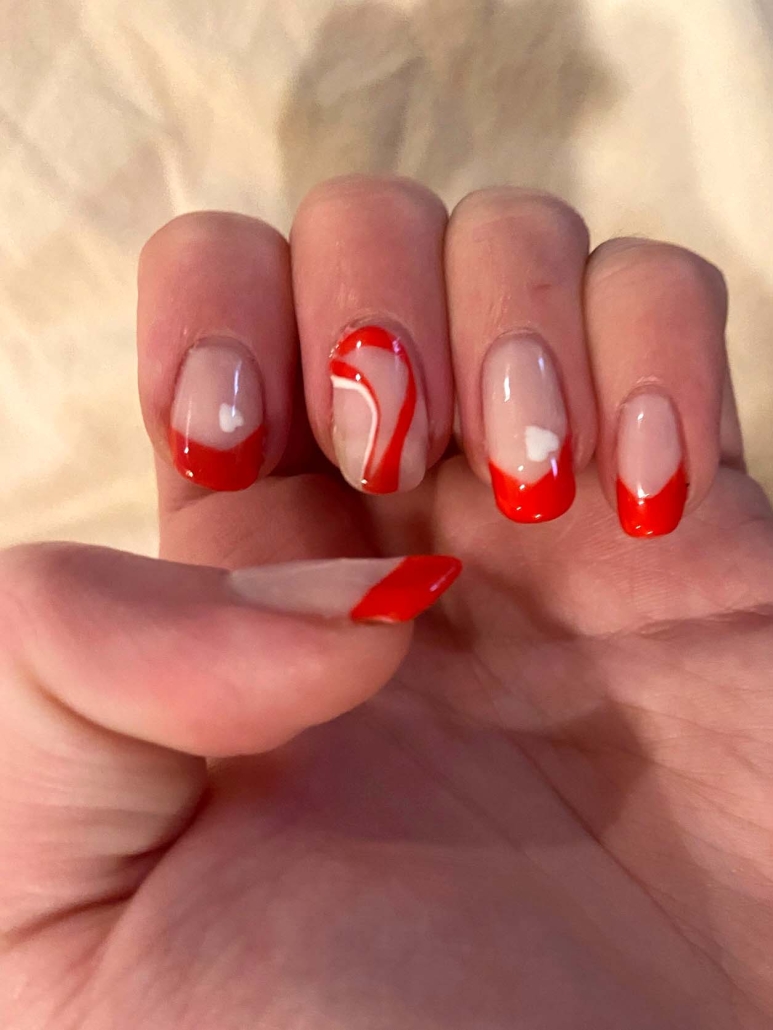
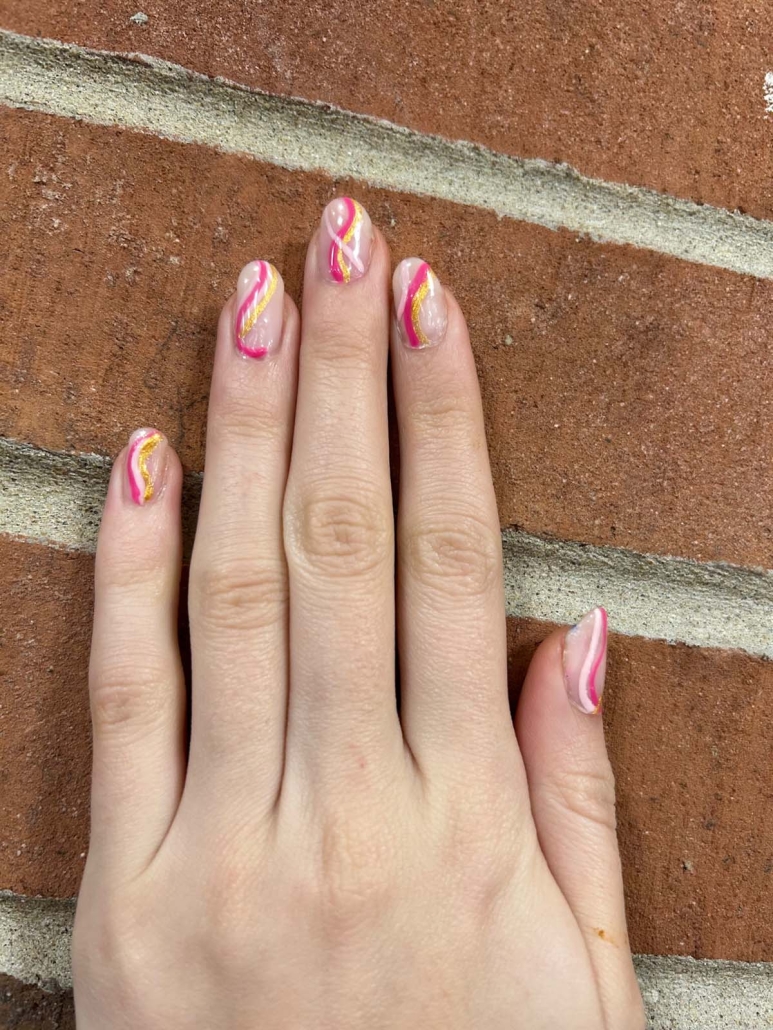
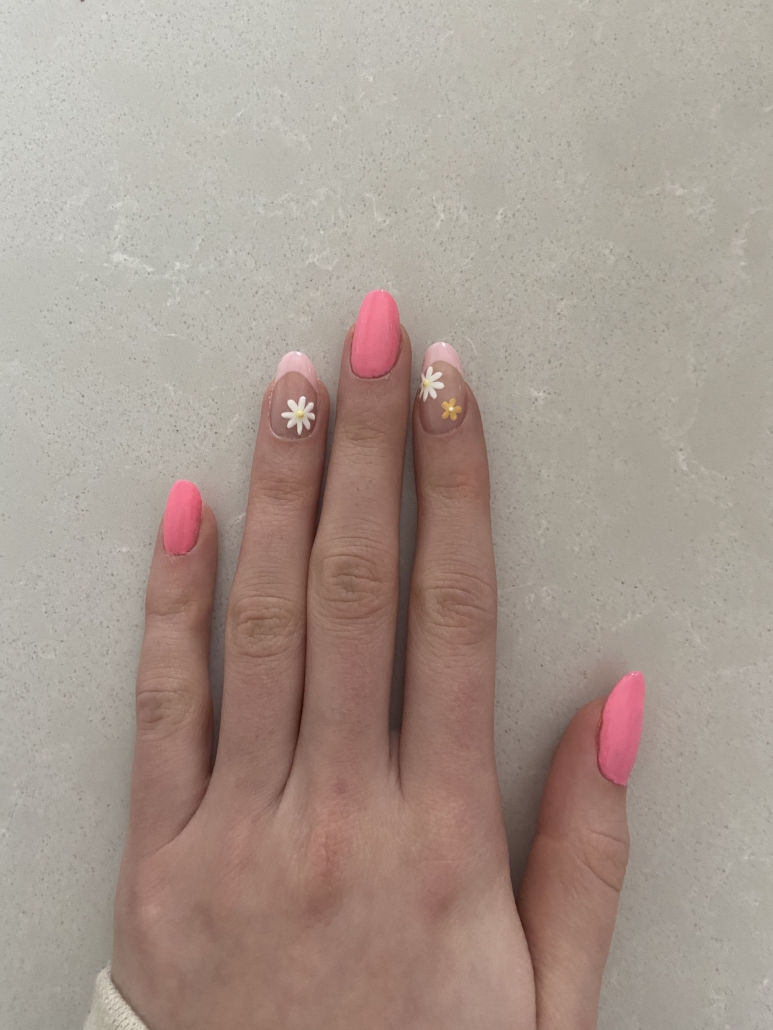
There’s something undeniably charming about oval nails that sets them apart from other shapes. They strike the perfect balance between being cute and classy, making them suitable for any occasion. Whether you’re headed to a casual brunch or a formal event, oval nails will complement your outfit flawlessly. With their elongating effect on your fingers, oval nails create an elegant and feminine look that’s oh-so-versatile! This guide will give you all of my favorite oval nail ideas!
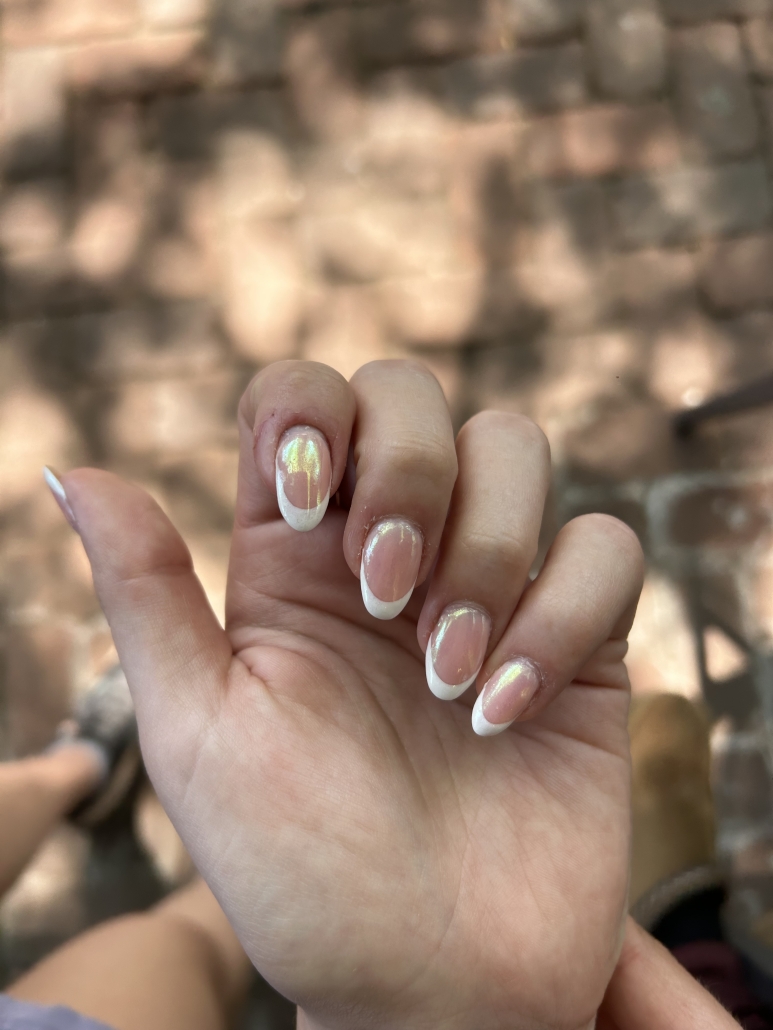
Red and White Almond Nails with Swirls
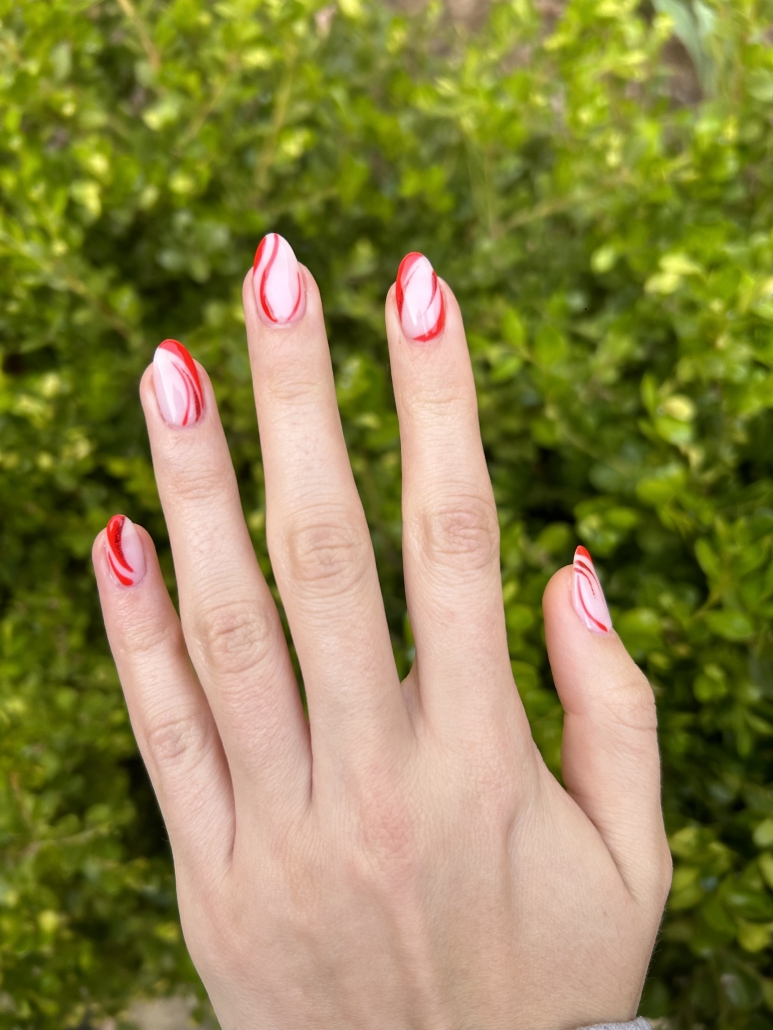
Hot Pink French Tips Nail Design
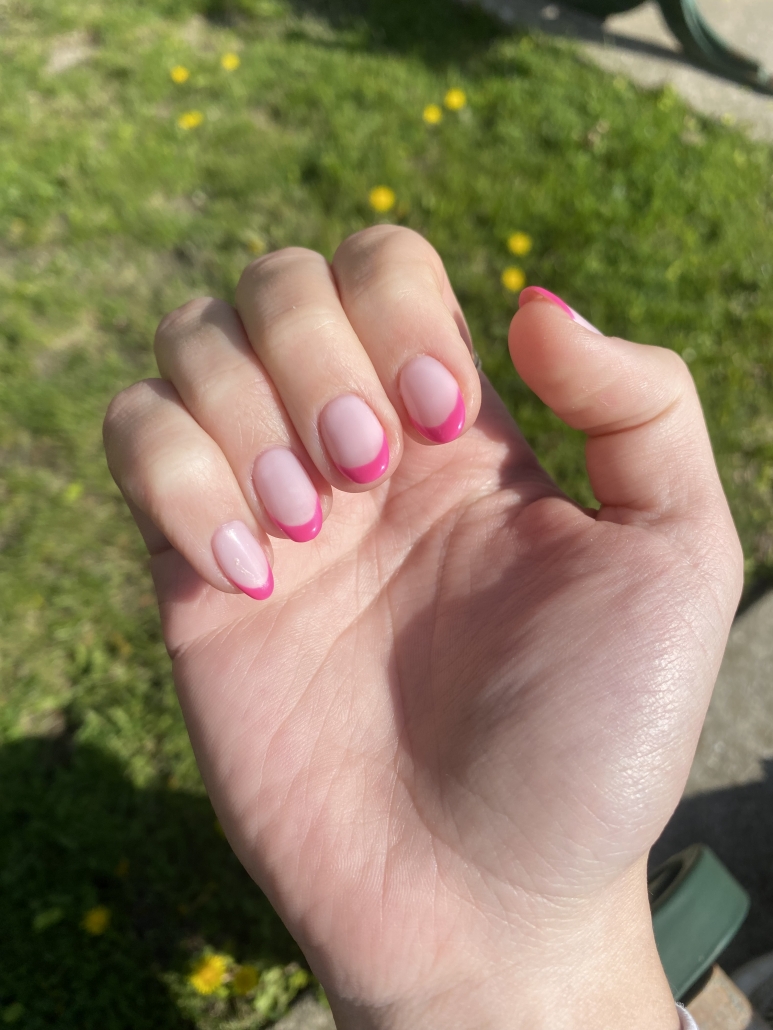
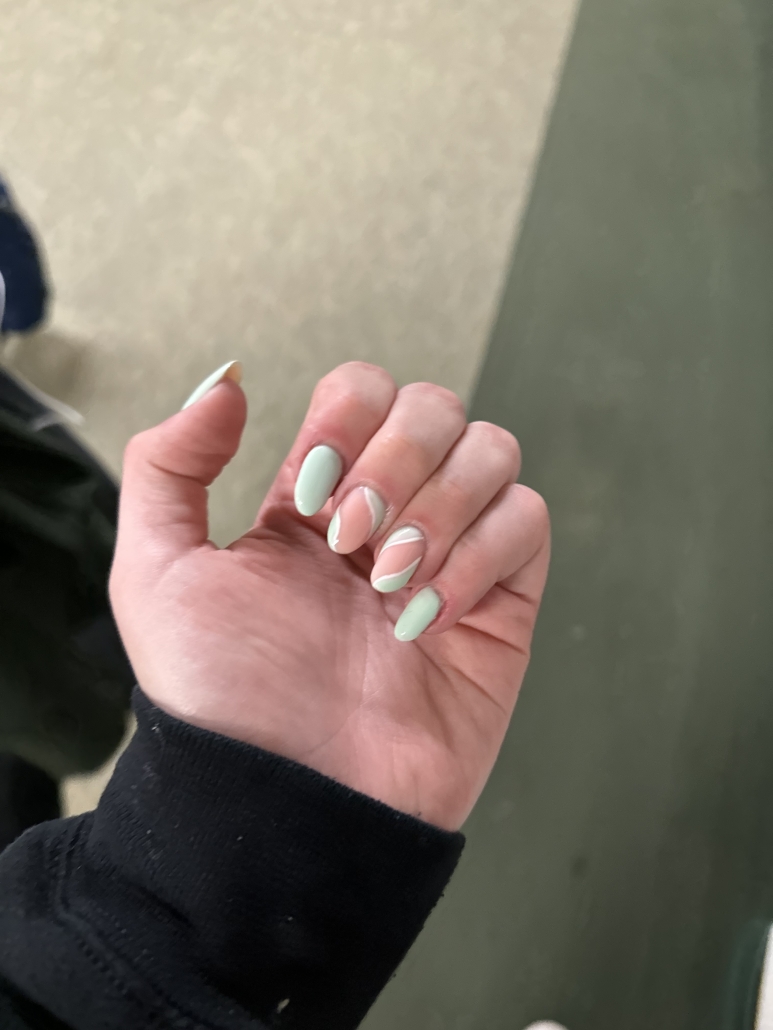
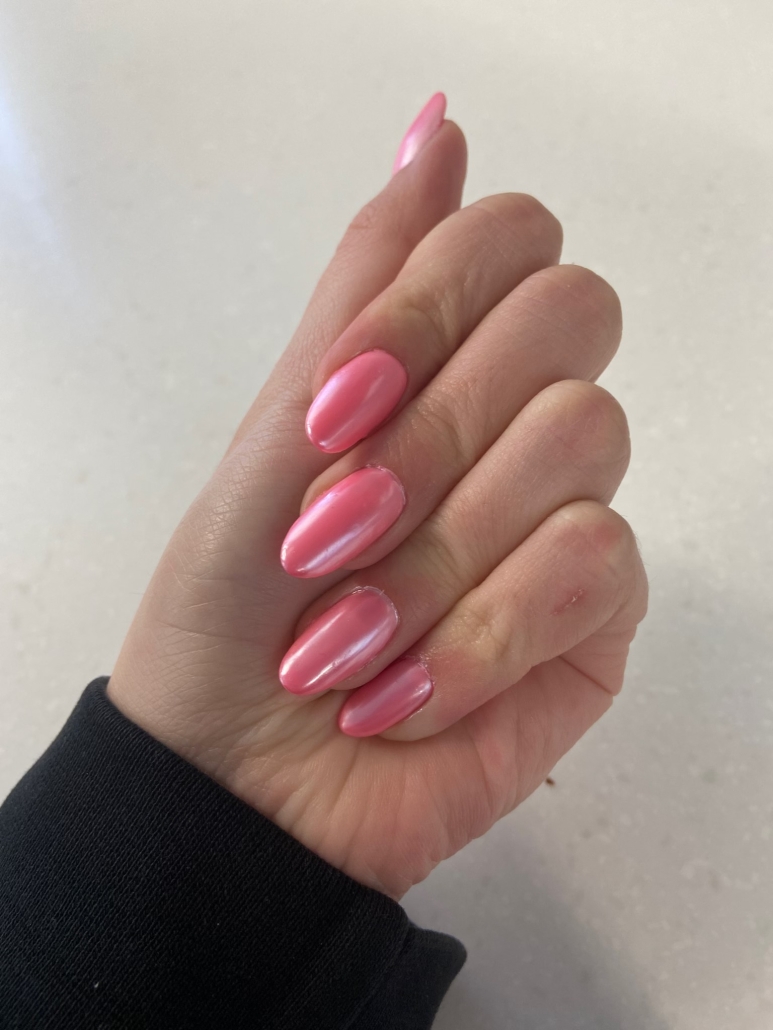
Pink Chrome Nails with Coffin Tips
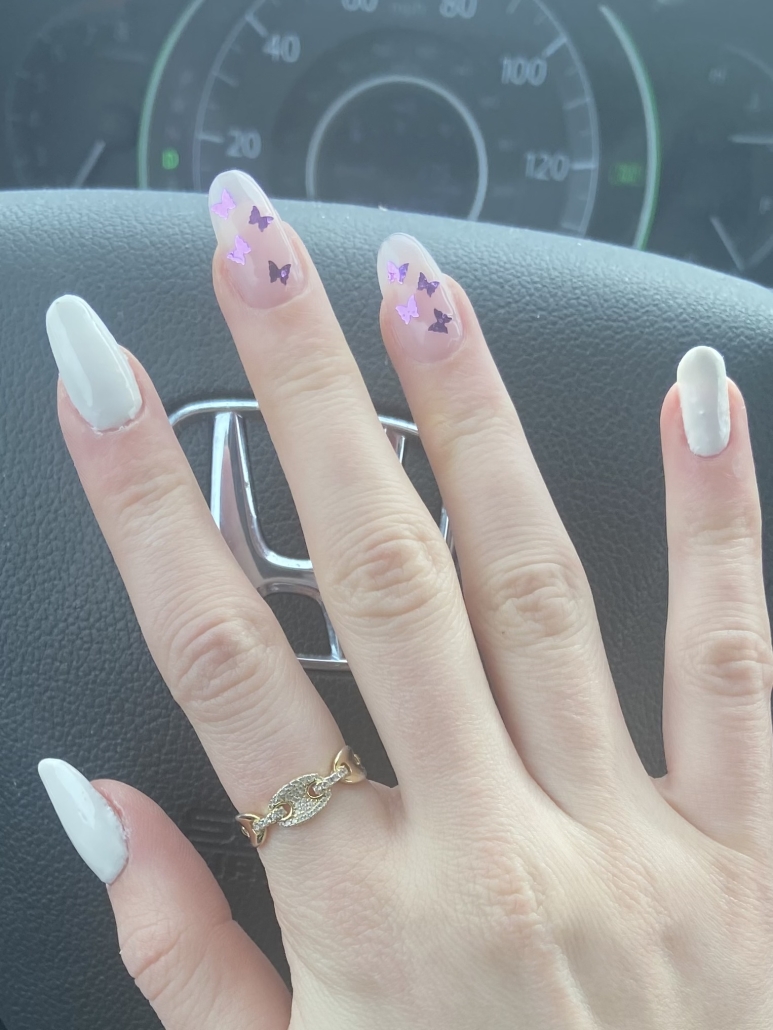
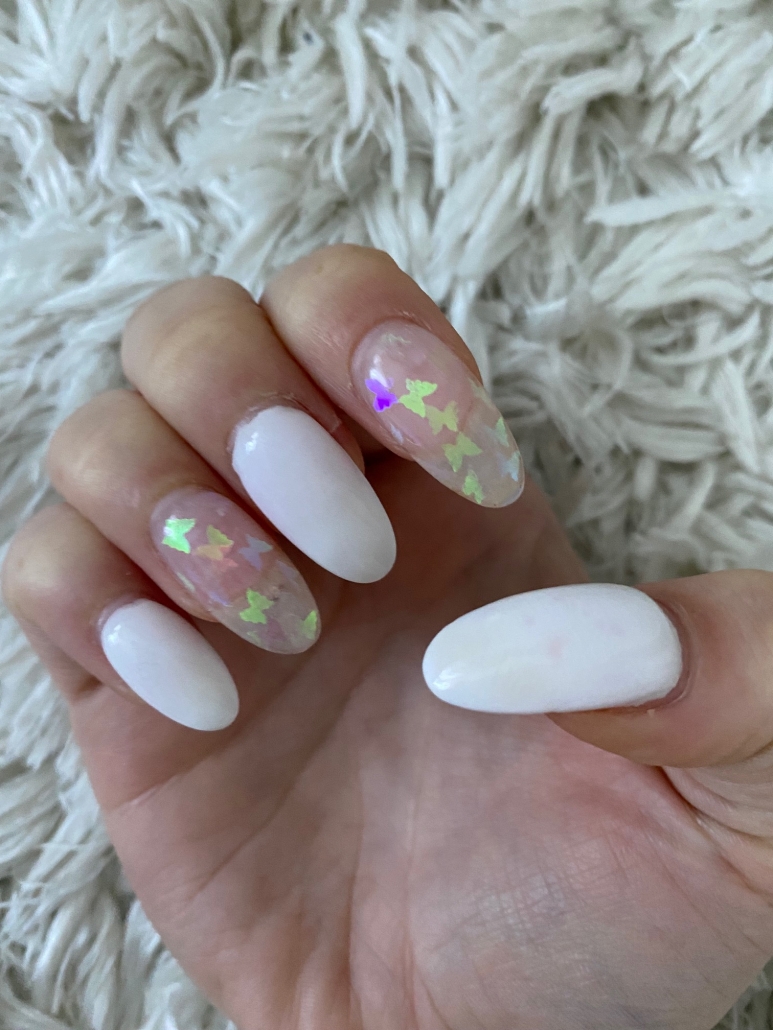
Purple Butterfly Nail Design With White Nails
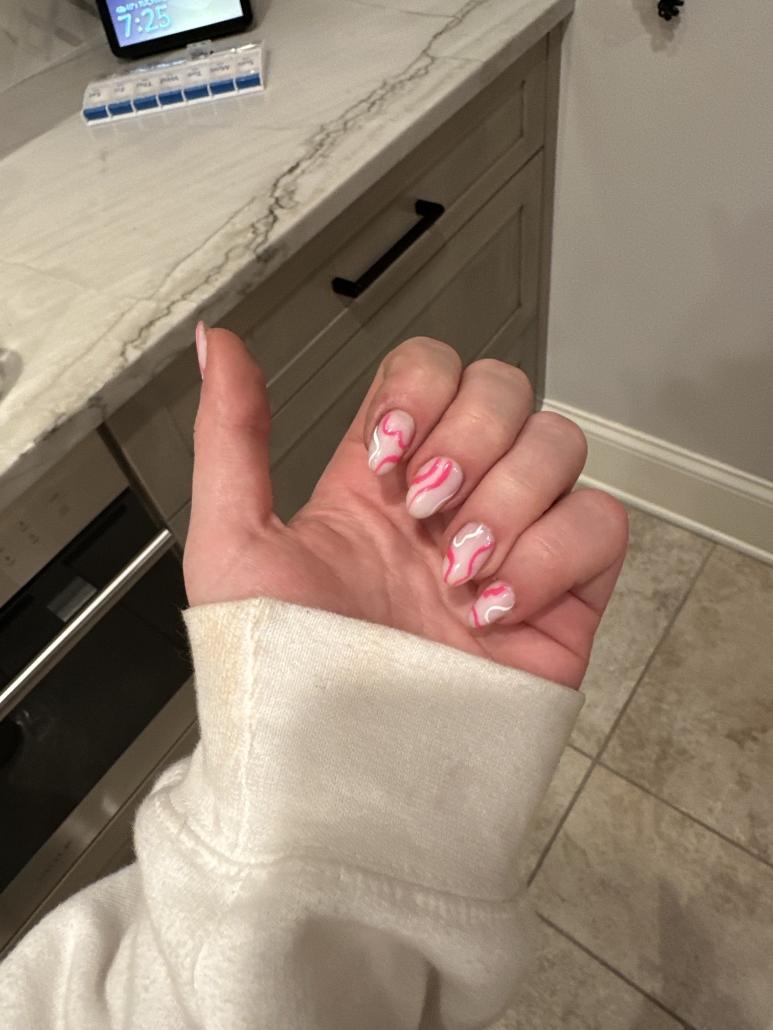
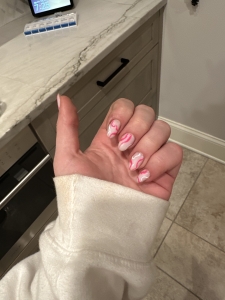
Pink and White Swirls Nail Design
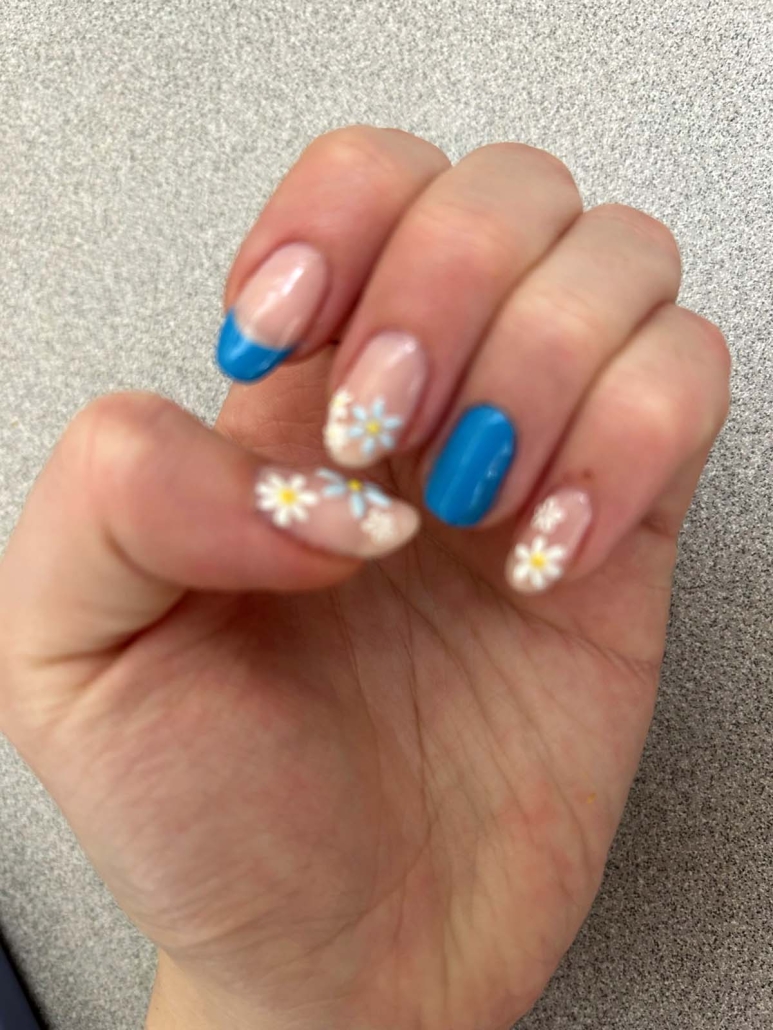
Blue Summer Nails Design With Flowers
Purple Summer Nails Design With Flowers
Light Pink French Tip Nails With Flowers
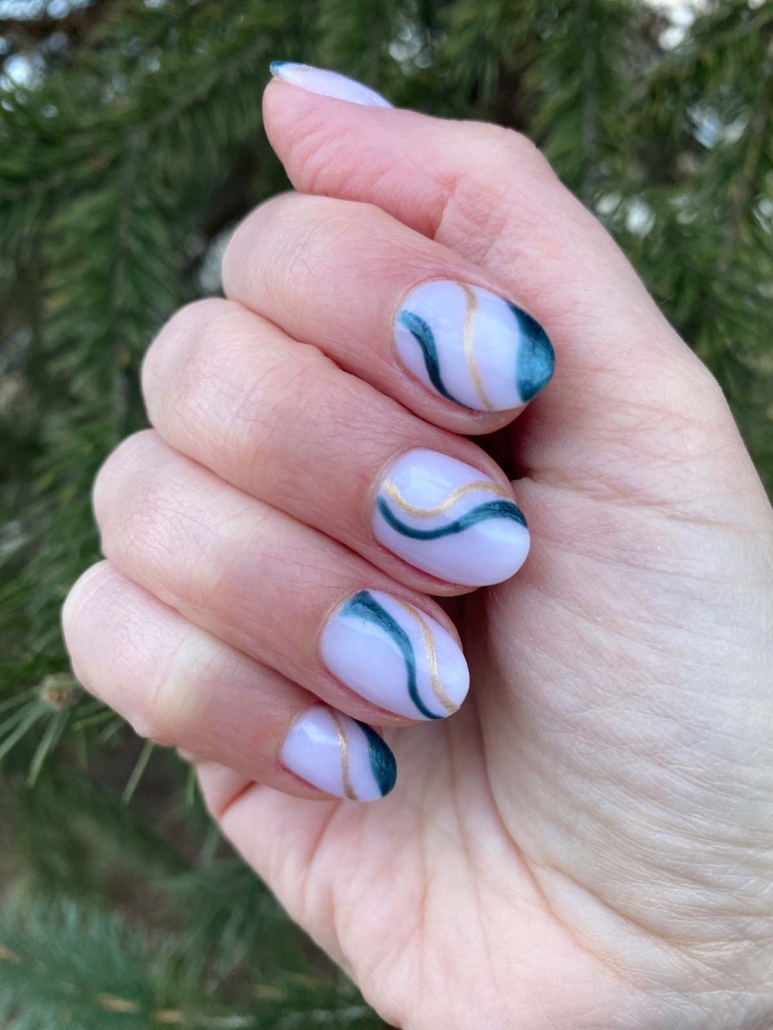
Emerald Green And Gold Nails Design
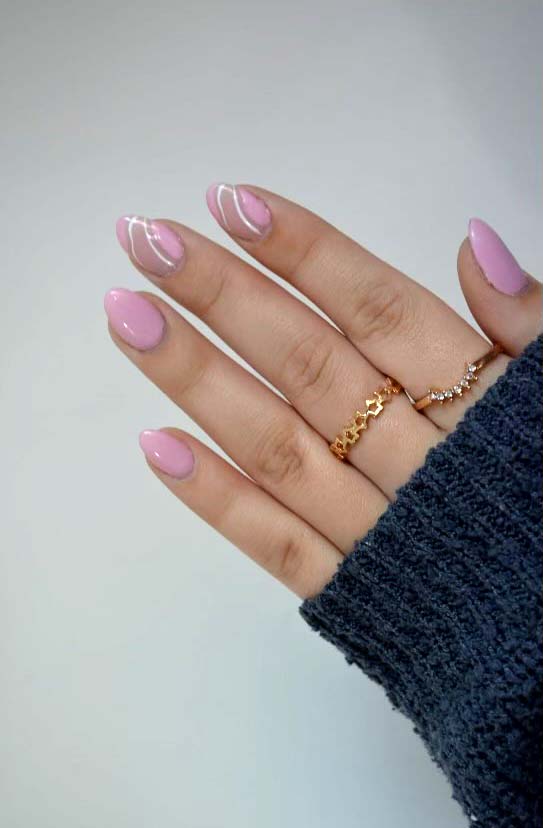
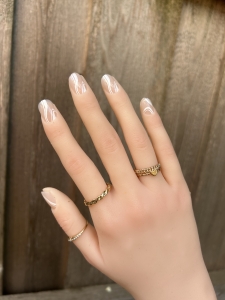
Light Pink Nails With White Lines Design
Different Shades Of Blue Nails Design
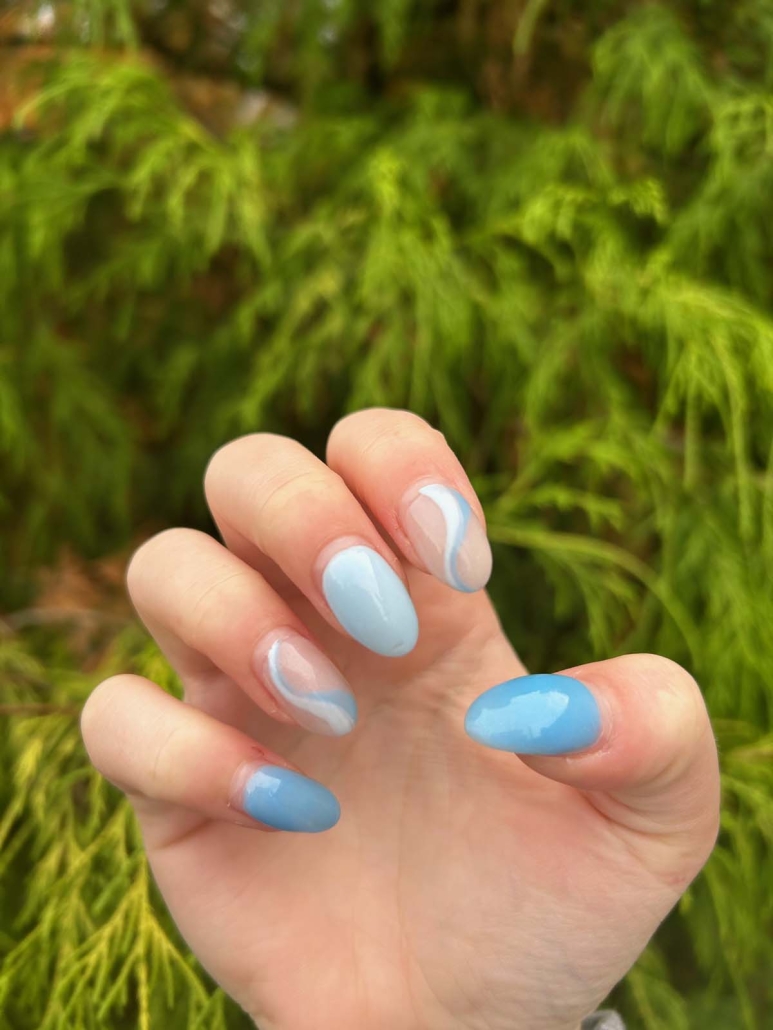
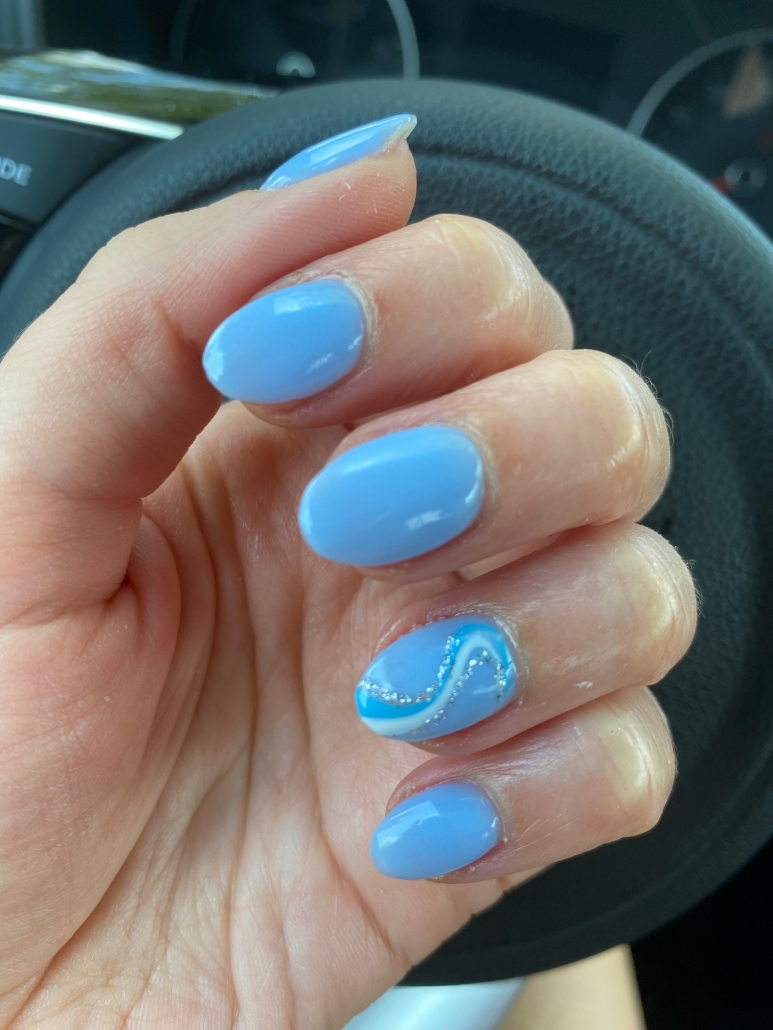
Blue And White Swirl Nails Design
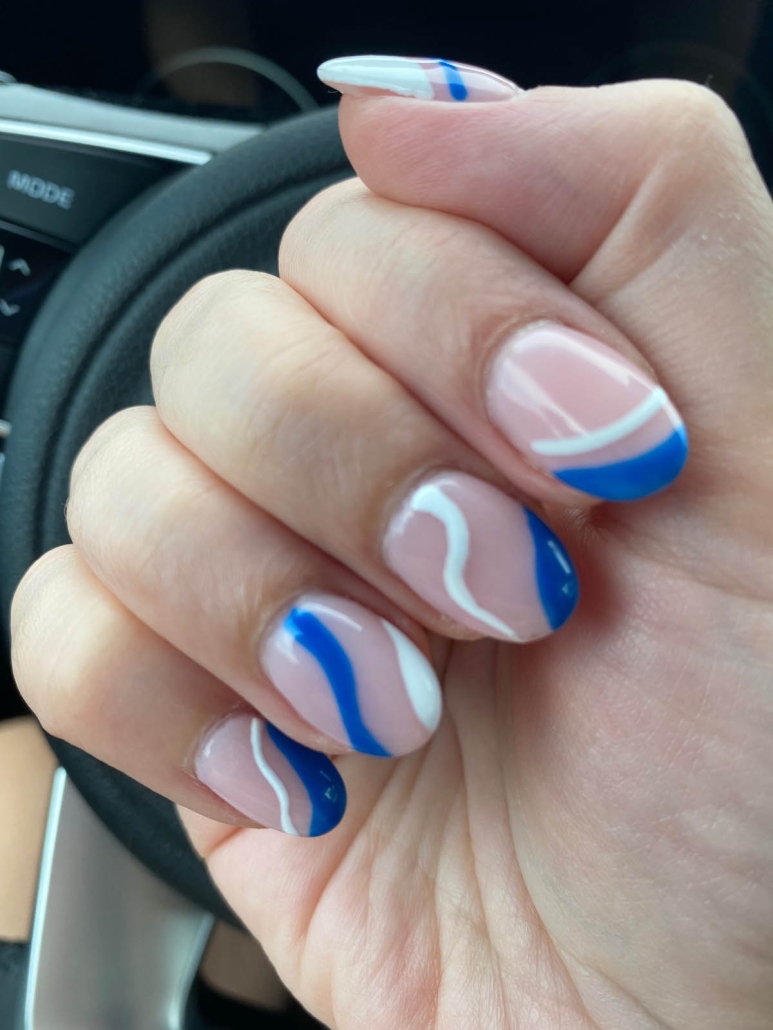
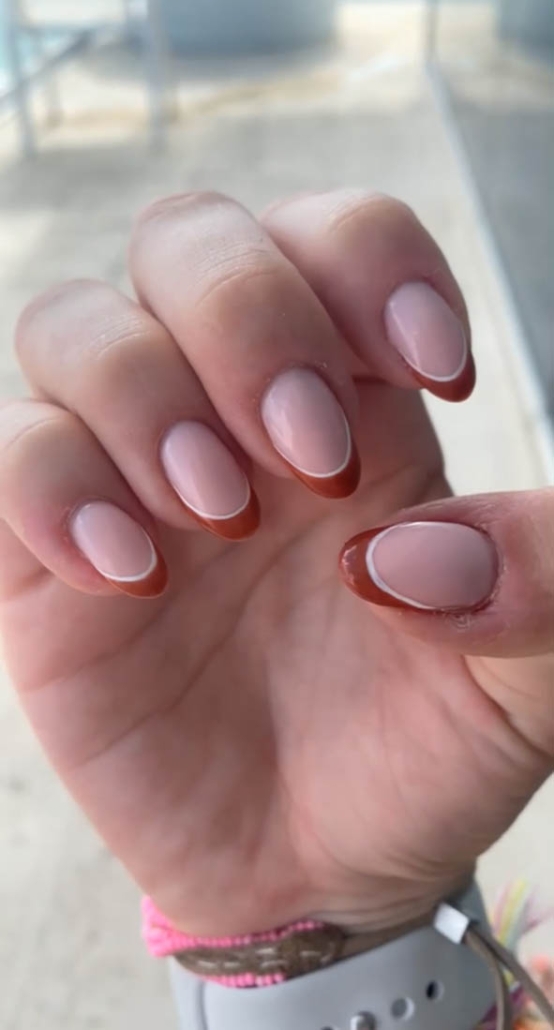
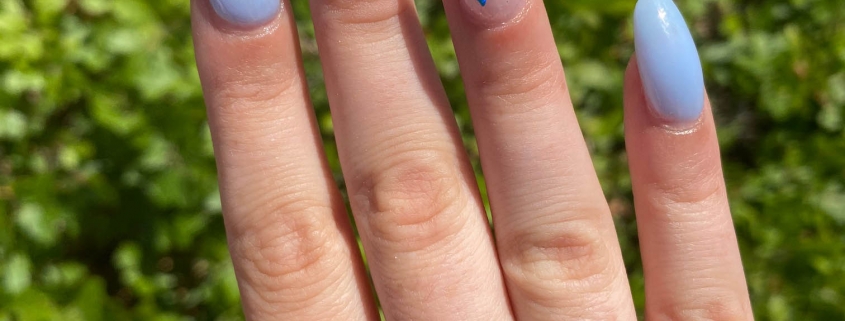
Light Blue Butterfly Nails Design Idea
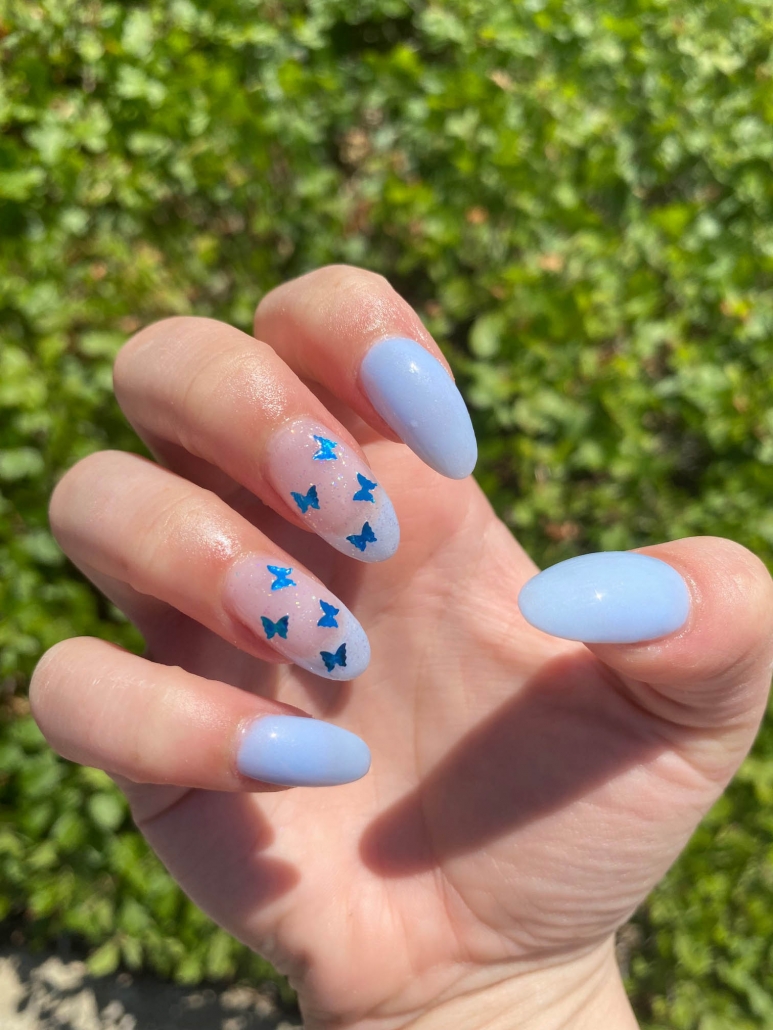
Pastel Summer Nails Multicolor Swirls Design
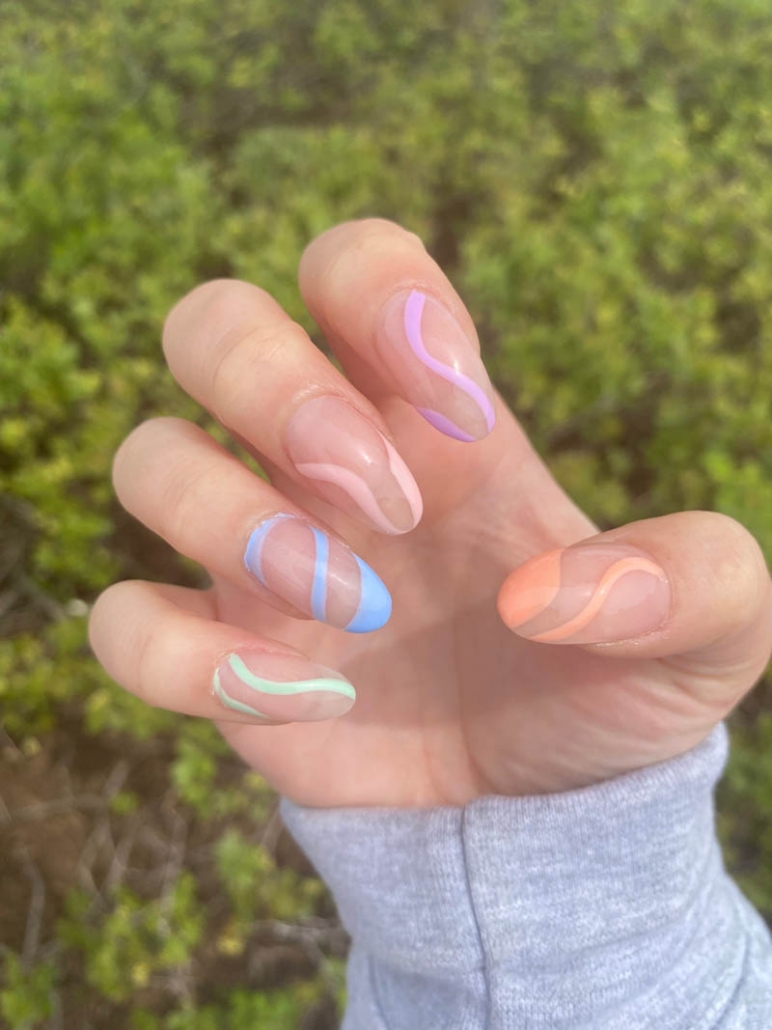
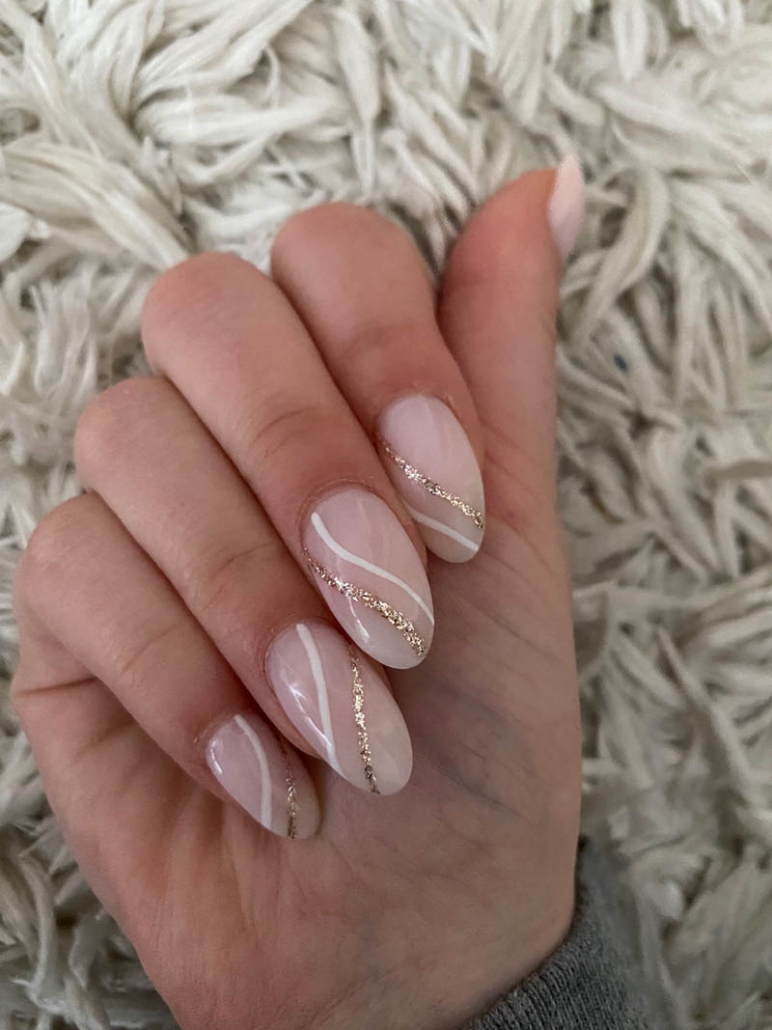
Nude Nails Design Idea With White And Gold Swirls
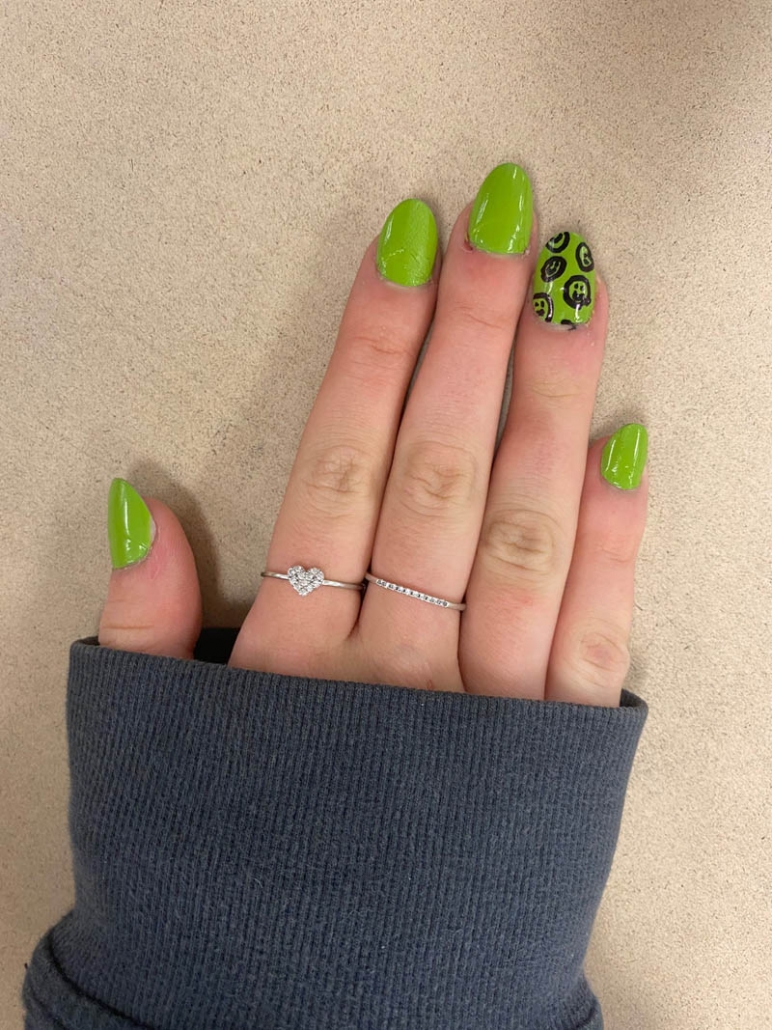
Neon Green Nails – Lime Green Nails With Smiley Face Design
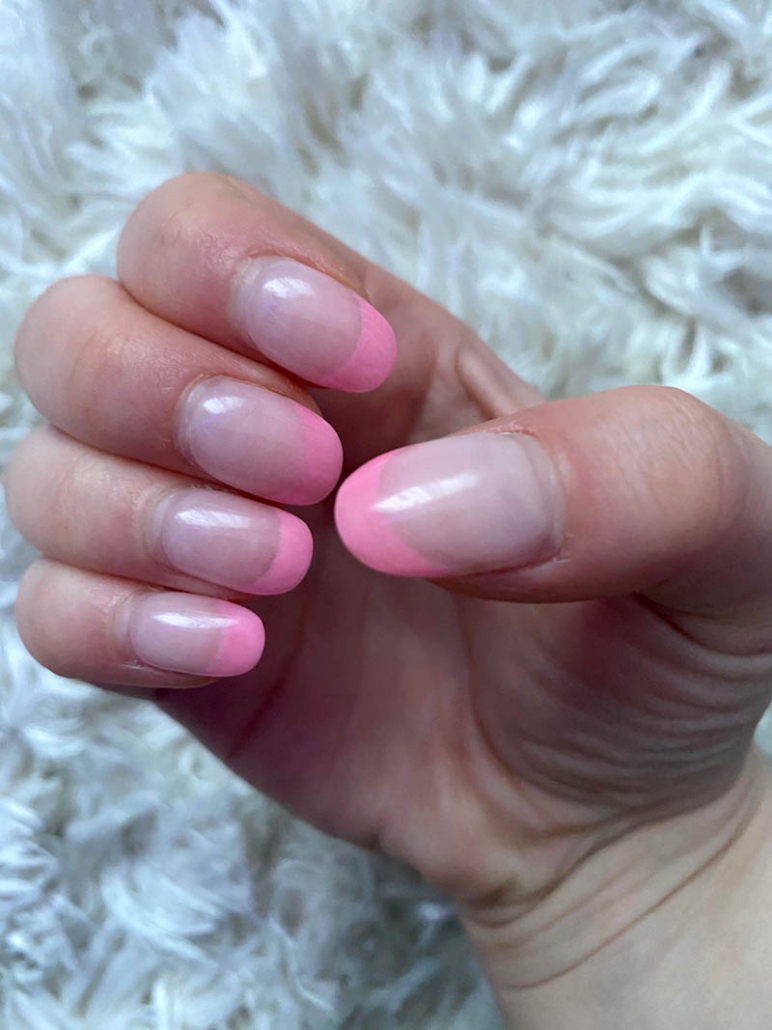
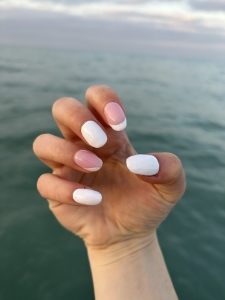
French Manicure With Light Pink Tips
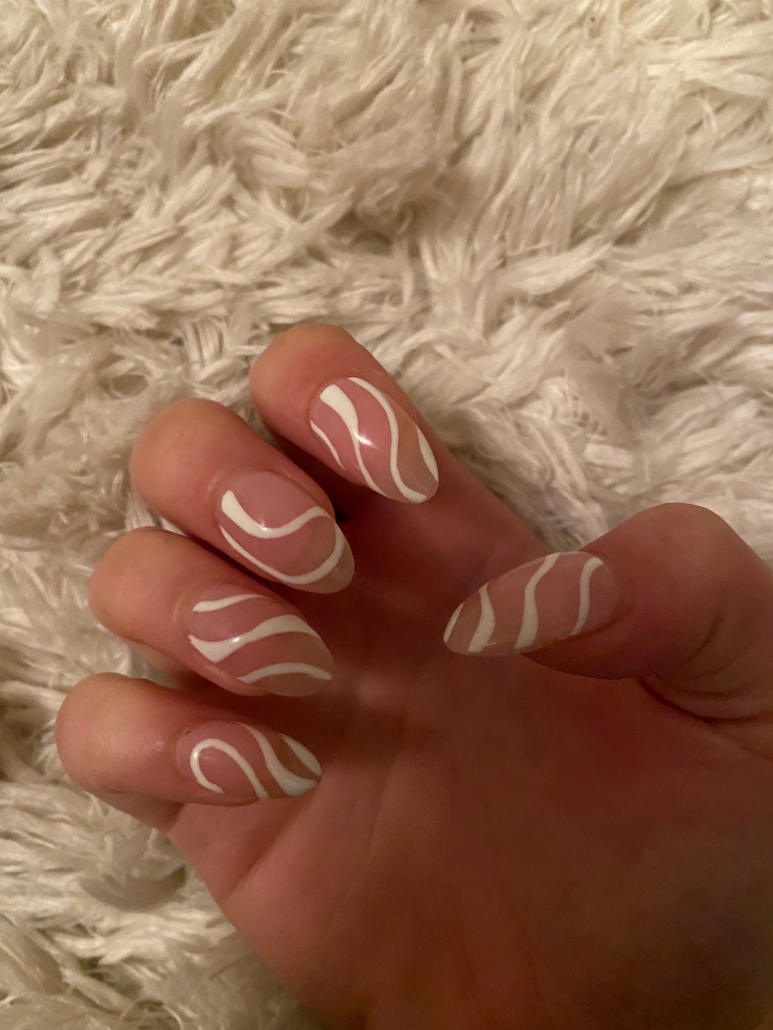
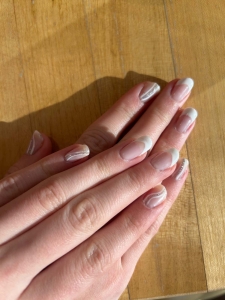
Nude Nails Design Idea With Simple White Swirls
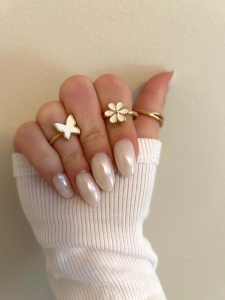
White Nail Design Ideas – Simple Butterfly Sticker Designs
Light Blue Nails Ring Finger Design With Simple Swirls
Shaping Oval Nails
Now that we’re sold on the idea of oval nails, let’s dive into the shaping process. Don’t worry if you’re new to this; it’s easier than you might think!
Step 1: Prep your nails: Start by removing any old nail polish and give your nails a good clean. Trim your nails to your desired length, keeping in mind that longer nails work best for achieving the classic oval shape.
Step 2: File the sides: Take a nail file and gently round off the sharp edges of your nails. Move the file in one direction, from the side towards the center, to avoid weakening the nail. This will help create the initial oval shape.
Step 3: Create the oval: Now comes the fun part! With a gentle touch, continue filing the top of your nails. Aim to create a soft, symmetrical curve from one side to the other. Remember, the key here is to maintain a rounded shape without going too pointy. Feel free to experiment until you find the perfect oval shape that suits your style and finger length.
Step 4: Refine the edges: After achieving the desired oval shape, it’s essential to smooth out any rough edges. Take a buffing block or a fine-grit nail file and gently go over the edges of your nails. This step will ensure your nails are flawless and ready for the next exciting phase: the polish!
Oval Nails and Nail Art
Now that your nails are beautifully shaped, it’s time to unleash your creativity with nail art. The oval shape provides a fantastic canvas for a wide range of designs. From delicate floral patterns to playful geometric shapes, the possibilities are endless. You can also experiment with various finishes like matte, glossy, or metallic to add an extra touch of glamour to your oval nails.
Maintenance Tips
To keep your oval nails looking fabulous, a little maintenance goes a long way. Here are a few tips to help you preserve their shape and keep them in tip-top condition:
- Moisturize: Regularly moisturize your nails and cuticles to prevent dryness and brittleness. Healthy nails are the key to rocking any shape flawlessly.
- Protect: Wear gloves while performing household chores or any activities that might damage your nails. This will shield them from harsh chemicals and prevent breakage.
- Polish Carefully: When applying nail polish, follow the natural curve of your nails to accentuate the oval shape. Be patient and use thin coats to avoid clumping or smudging.
- Touch-Ups: If you notice any chips or wear, don’t be afraid to touch up your manicure. A small fix can make a huge difference in maintaining your oval nails’ allure.
If you are looking for some coffin nail ideas, check out Long Coffin Nail Ideas.



Leave a Reply
Want to join the discussion?Feel free to contribute!